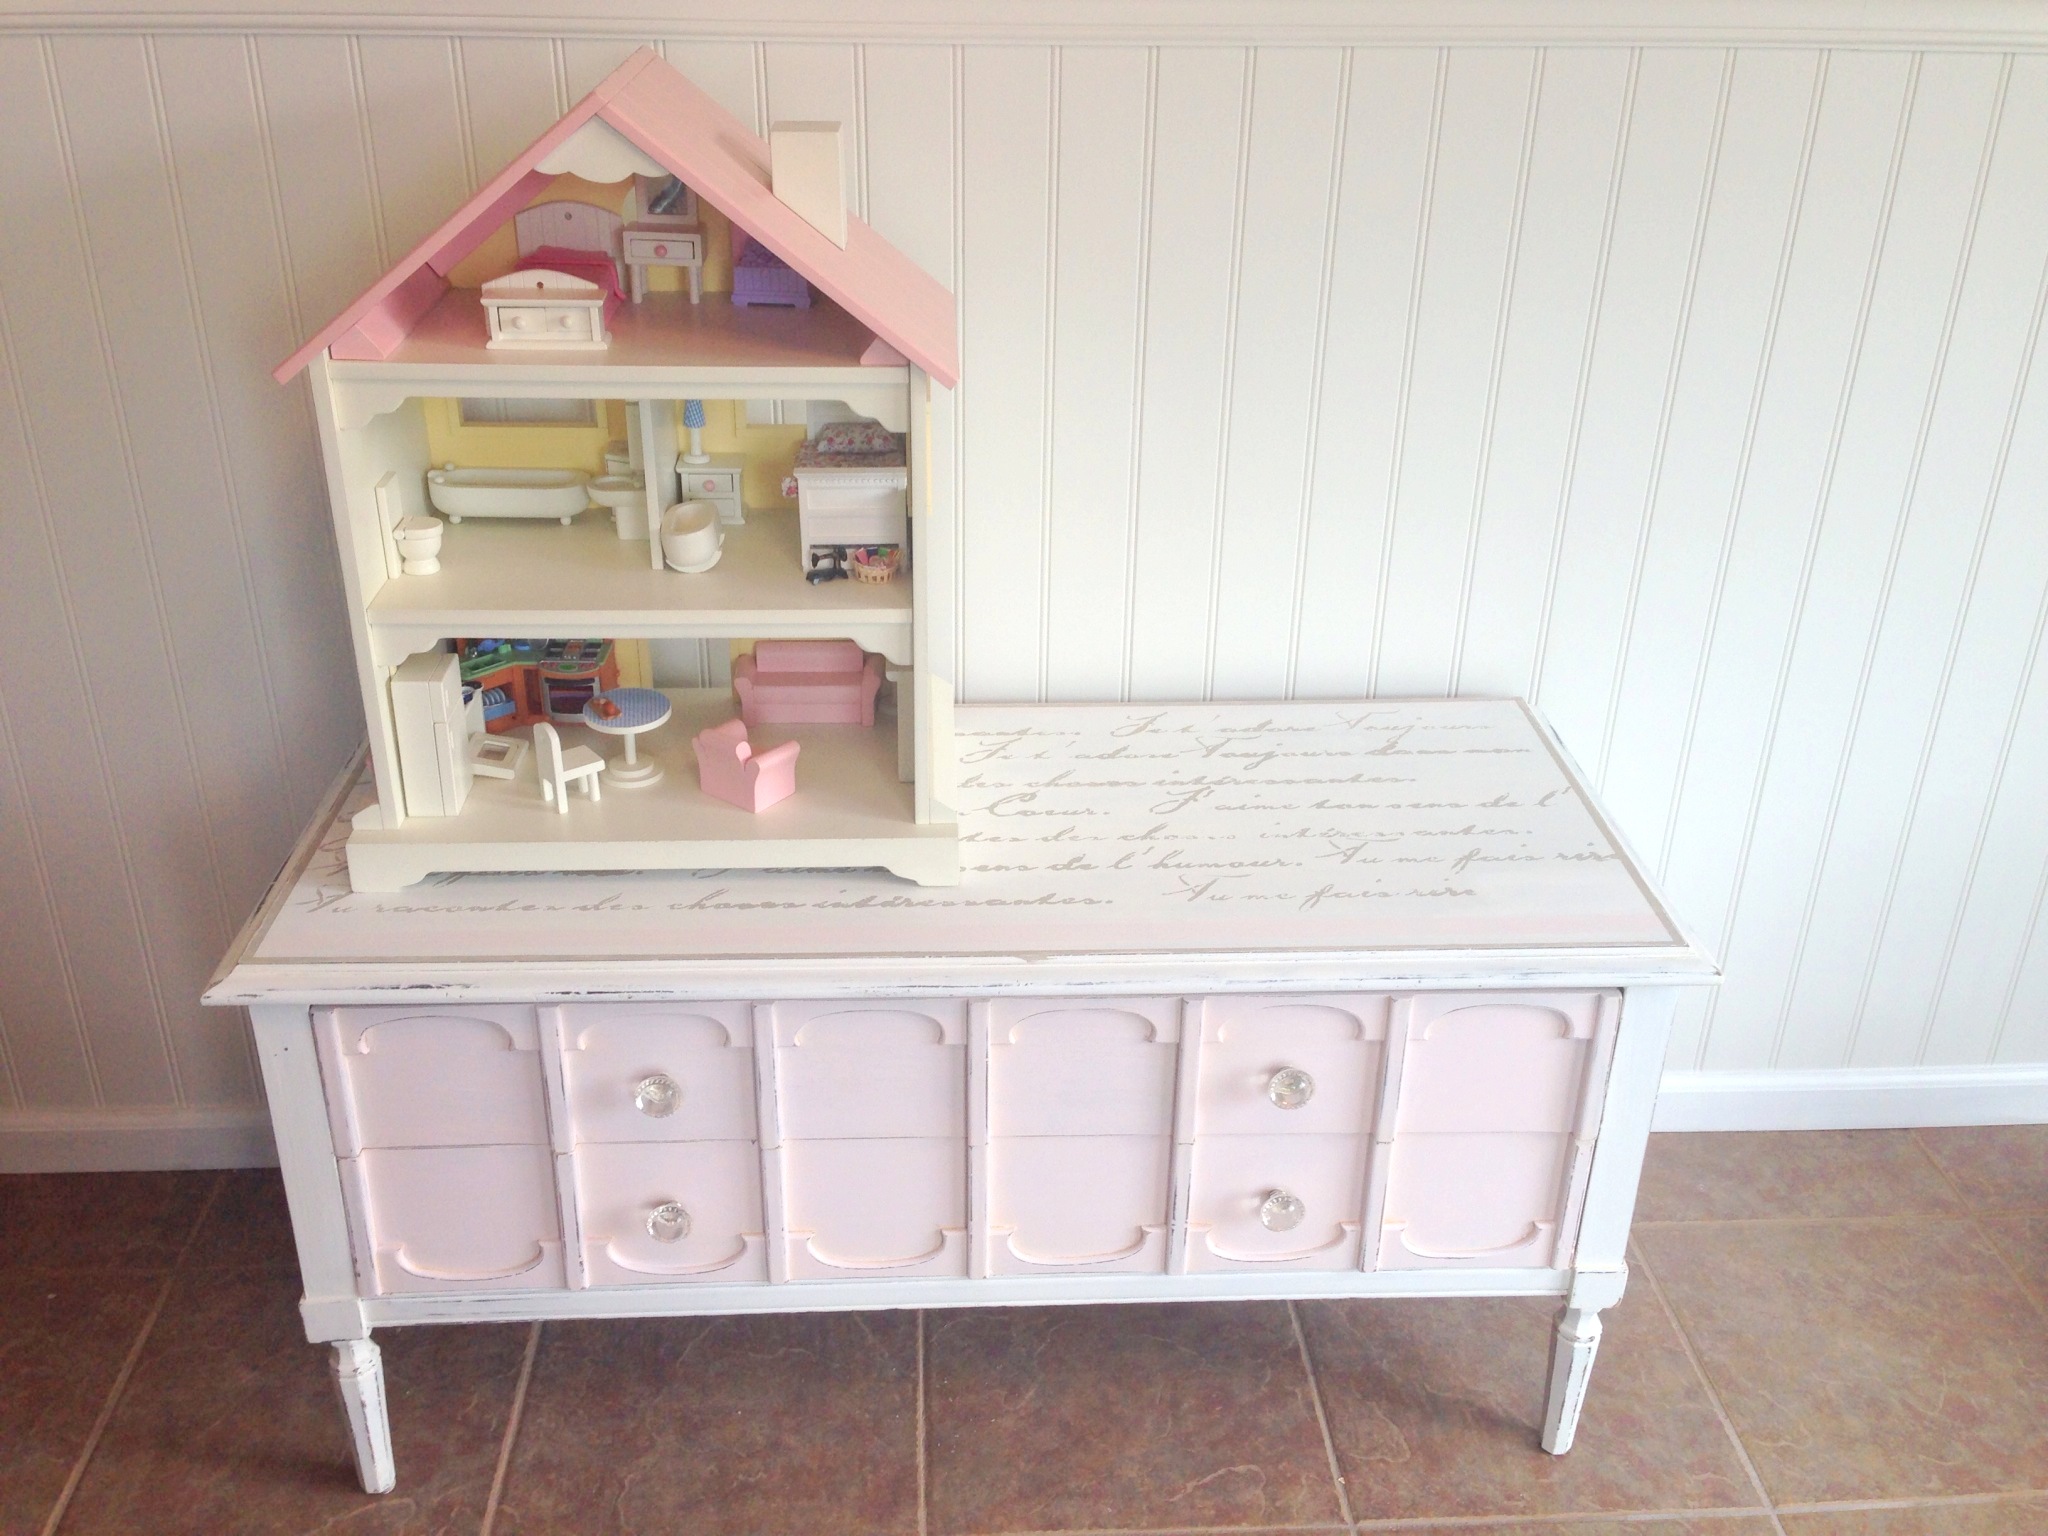
I picked up this little table last week at Goodwill. I just loved the legs and the design on the drawers. I knew with some paint and new hardware, it could be so beautiful. My daughters thought it was the ugliest table they had ever seen. I wish I had taken a before picture but I totally forgot.
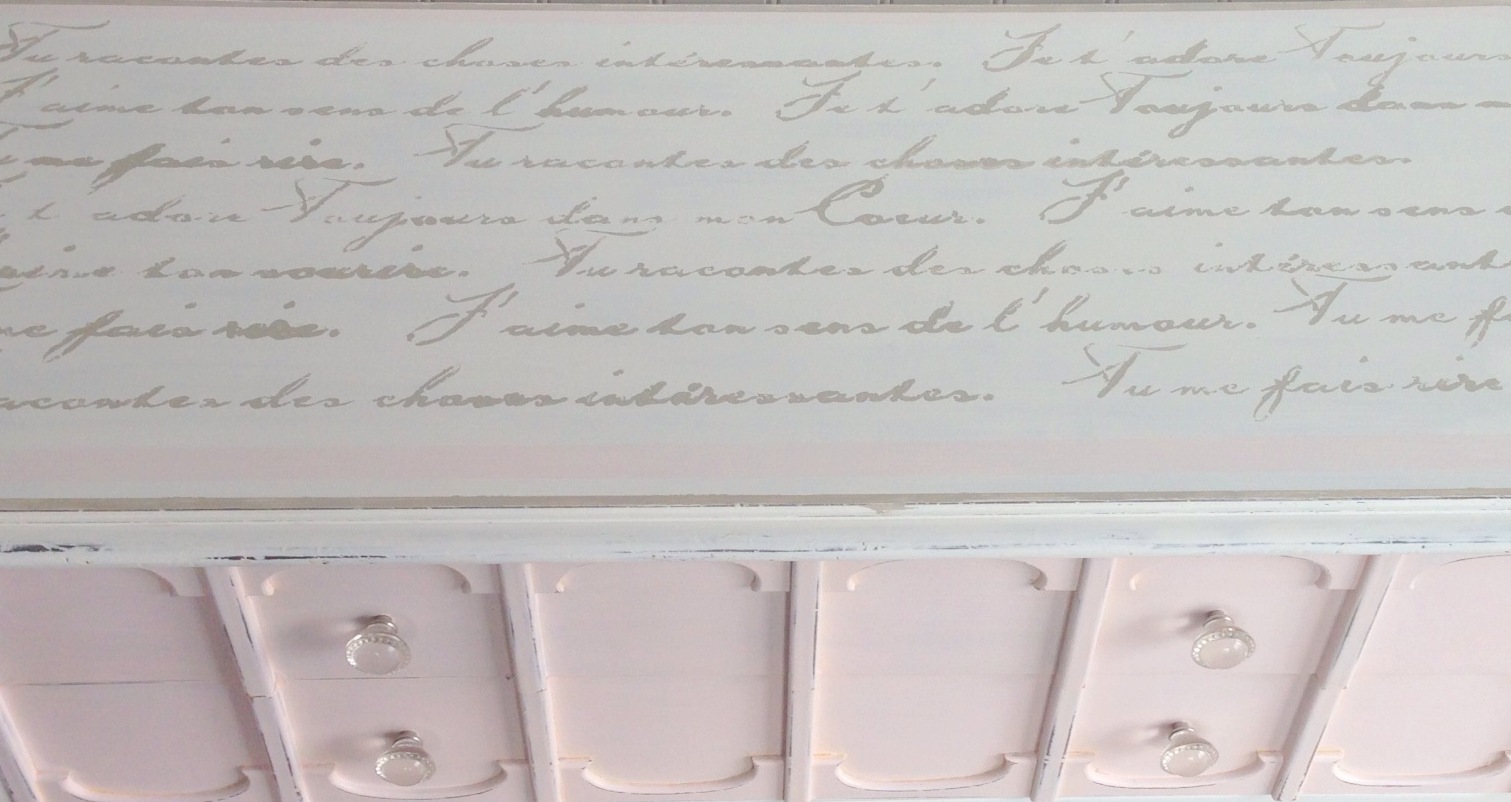
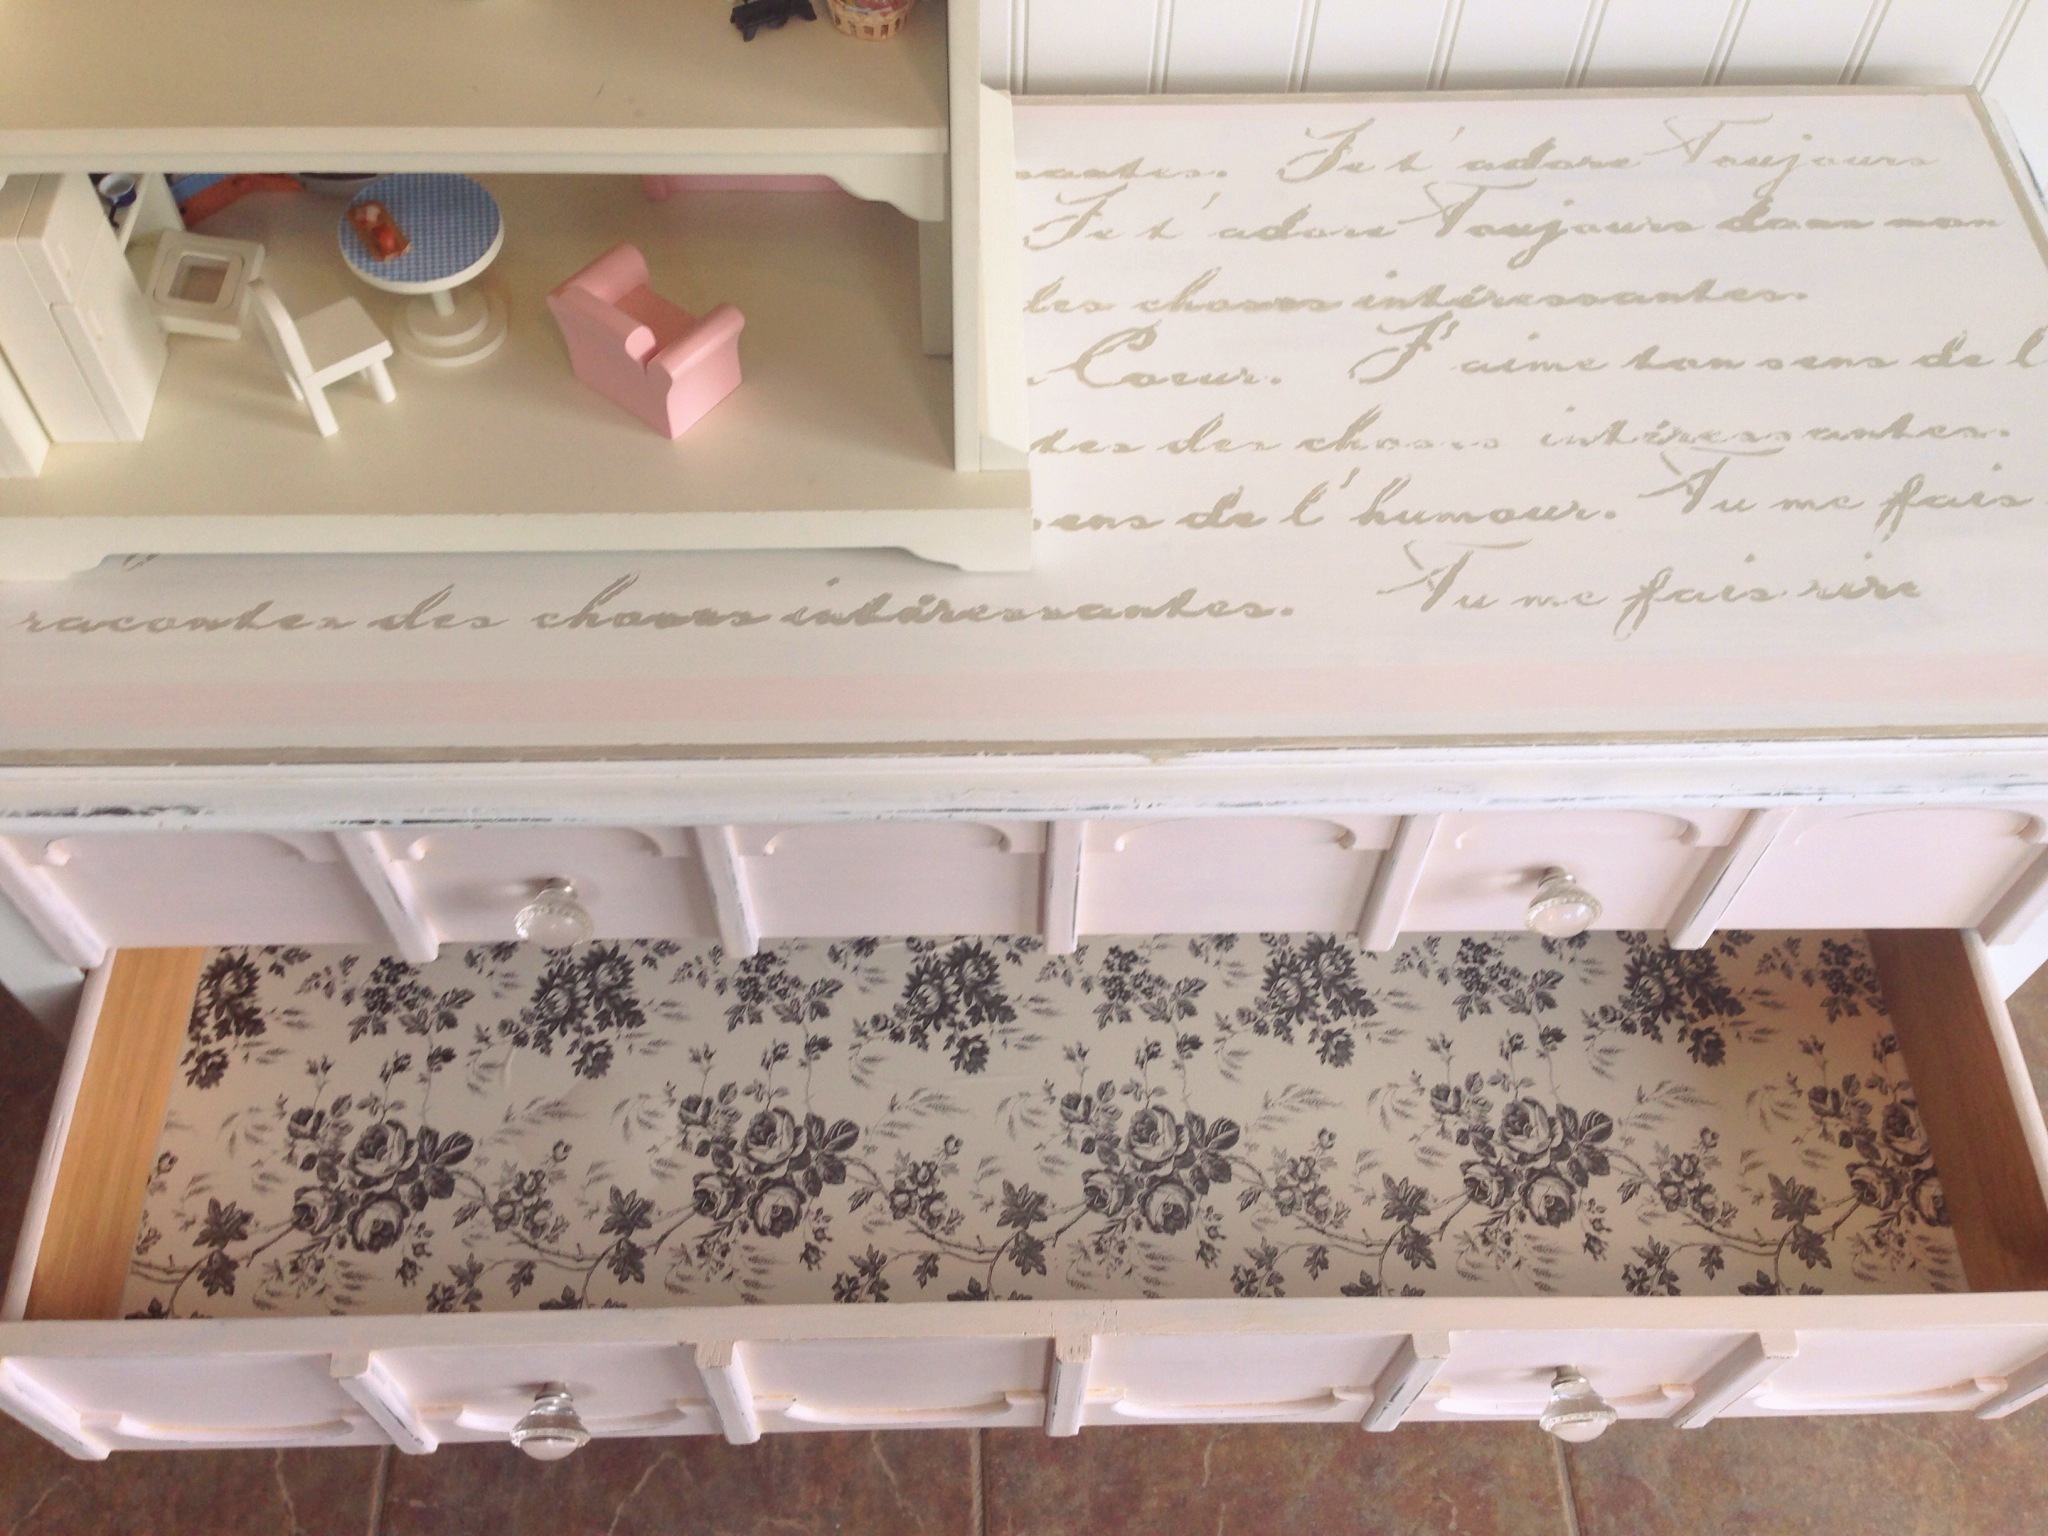
I decided to turn it into a Dollhouse chest. It has two huge drawers for storing toys. I went to one of my favorite local shops to pick up some paint. I used Van Gogh’s First Kiss (pink) and Maison Blanche’s Magnolia (While). After applying two coats of each I started work on the French stenciling. This part was a little tough because I had these strips of French sayings. After I would paint one, I would have to wait for the paint to dry, move it down and paint the next verse. The drying part is what slowed the process down. Once the stencil was applied I taped off the edges of the top and put a grey border all the way around. I added a pink stripe towards the bottom and one along the top. Next came the distressing. I only lightly distressed this piece.
After sanding and cleaning the table off I applied two coats of Shabby Paints Vax. This is one of my favorite products. It is so easy to apply and requires no buffing. It is also VERY durable.
Now my daughters all love this table and are begging to have it placed in their rooms. So sorry girls! You didn’t love me when I was ugly, so I must find a new home:-)