New Venture Drives Us to Collect Dresses

You just never know what a day has in store for you. Today I planned to do errands and housework, maybe bake banana bread. Ho hum. Instead I’m starting a charity with Kristin, updating my resume, and getting ready for a foreign exchange student! I love good surprises!

photo (3)

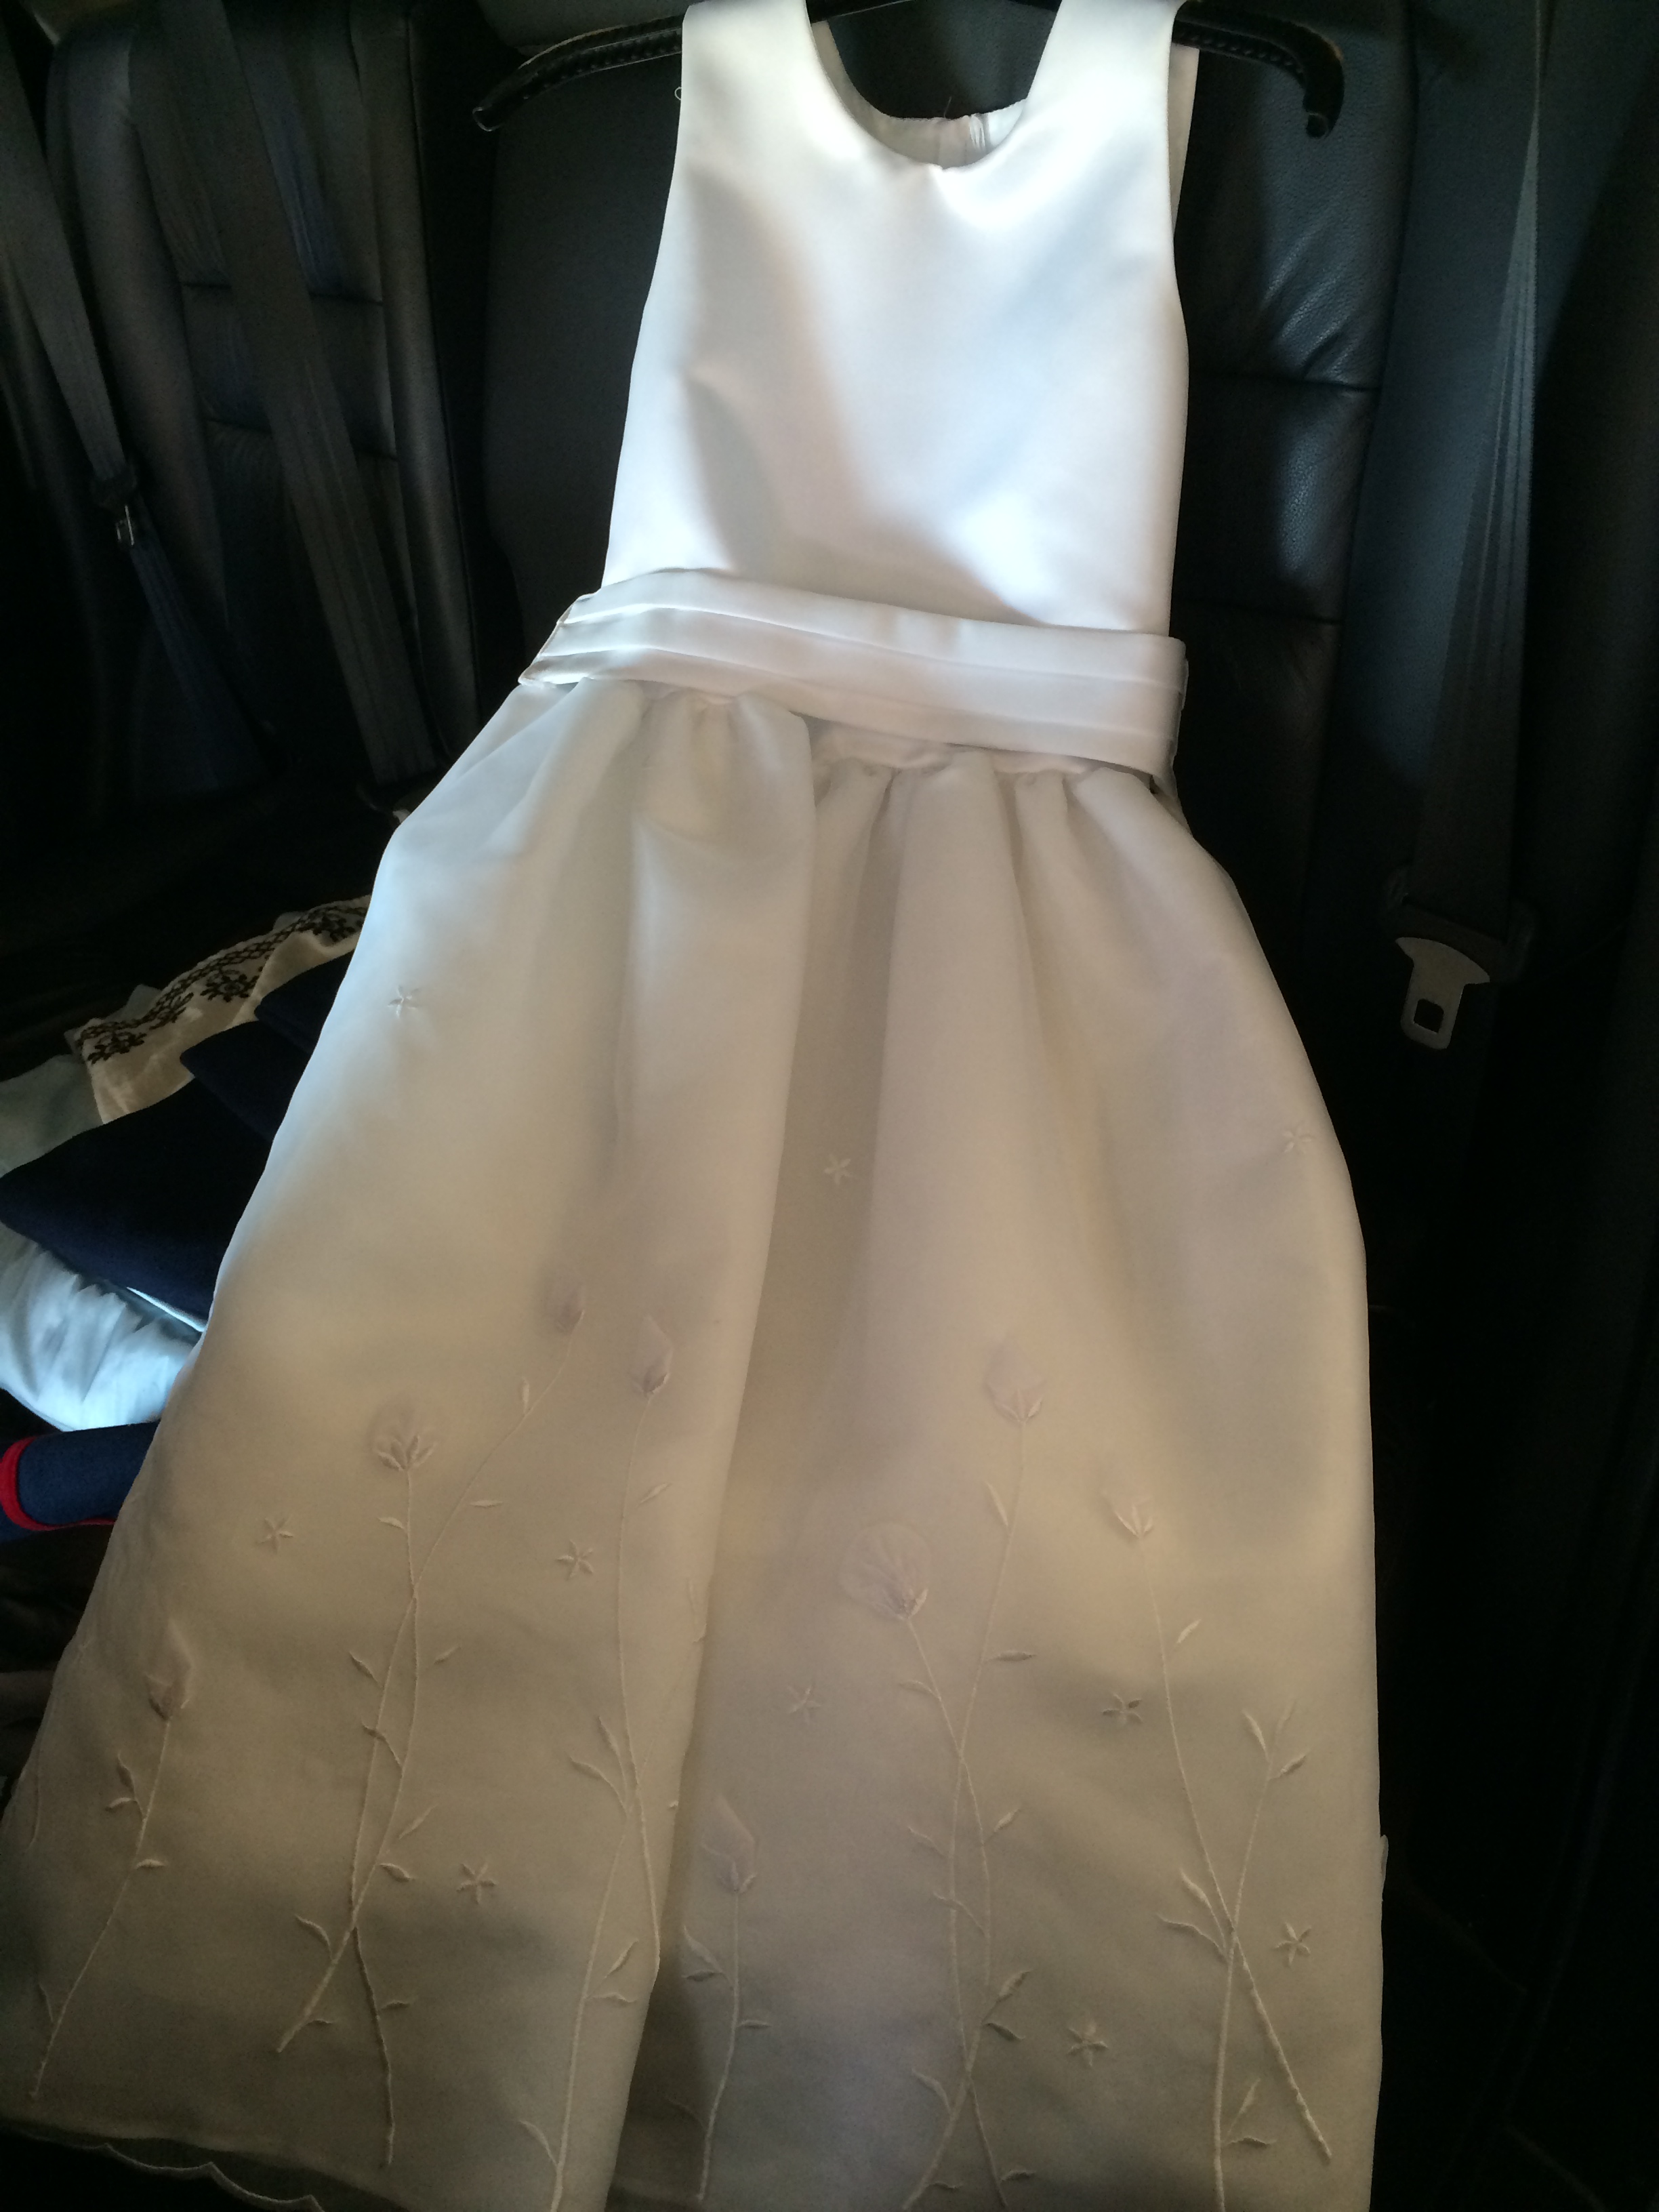
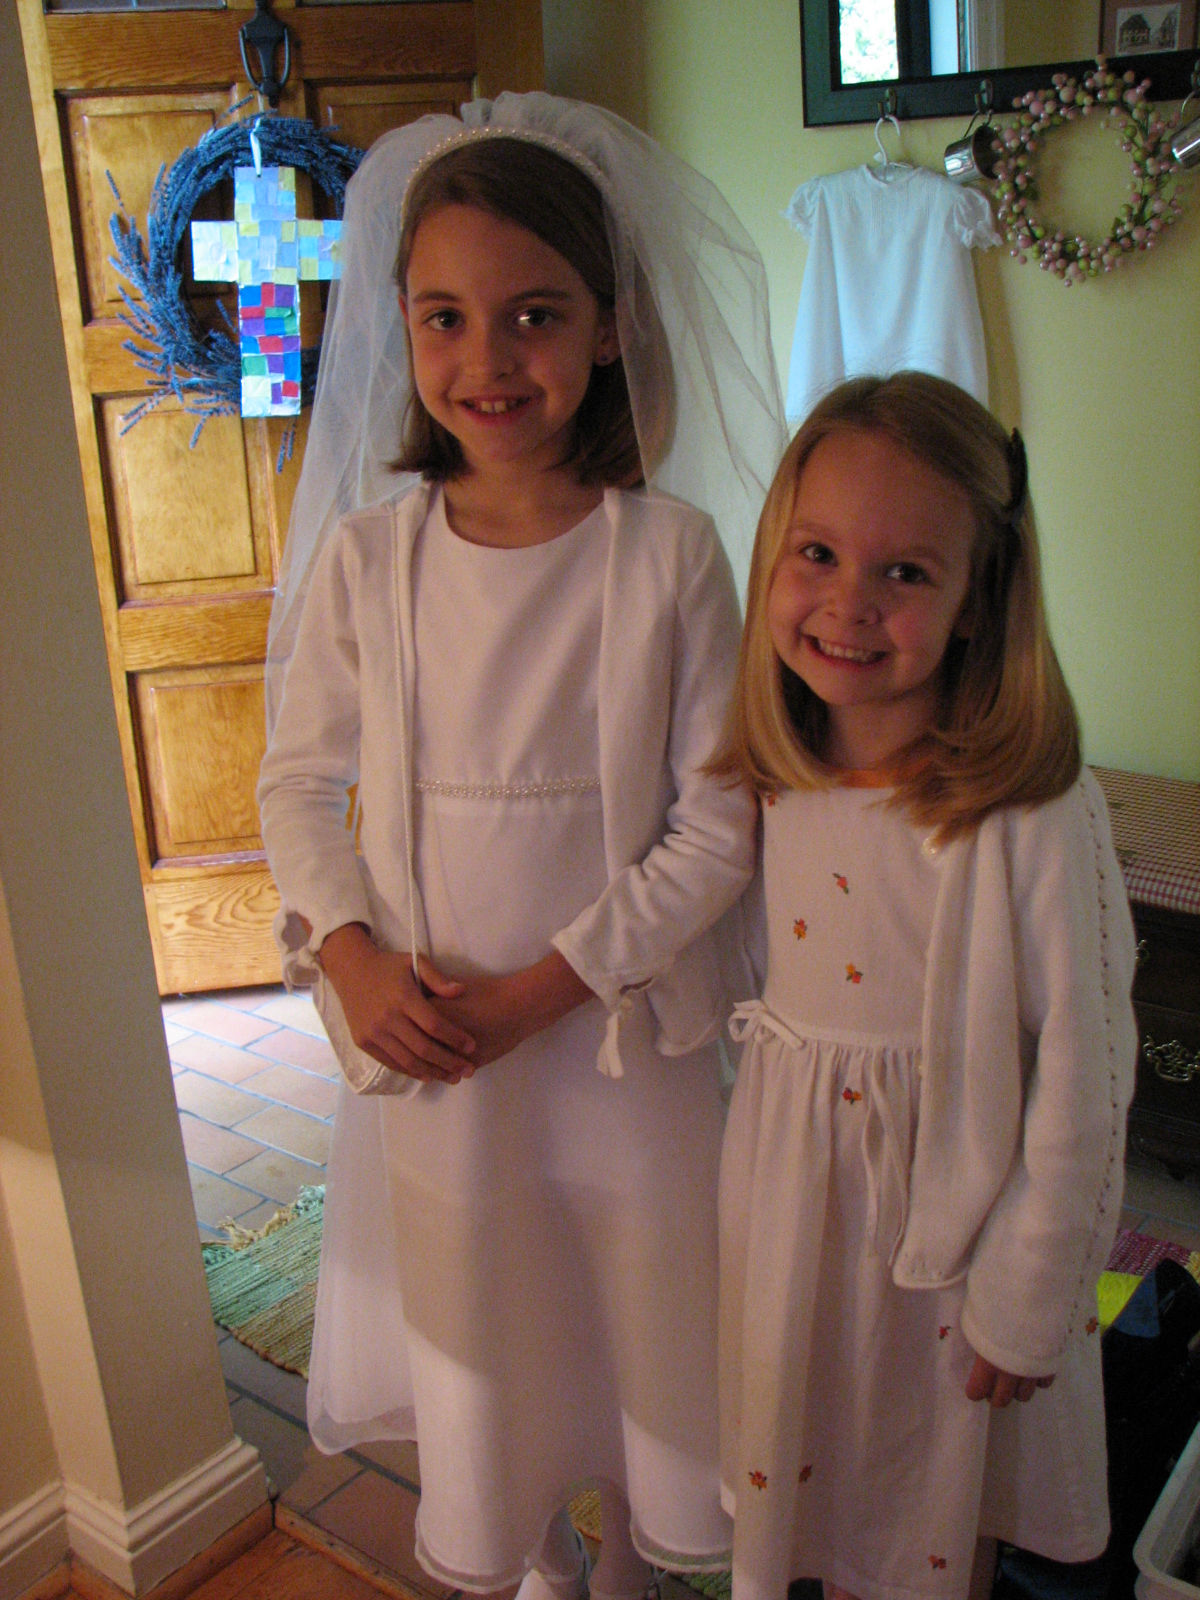
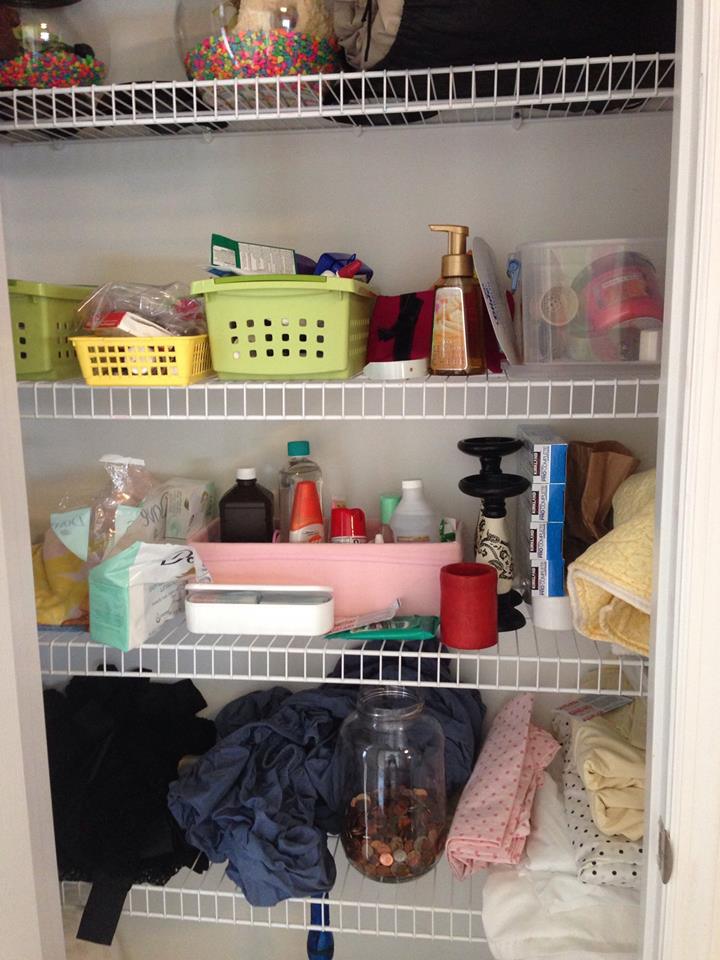
I have my girls’ First Communion dresses in the back of my car. I wanted to get them out of the guest closet before Hendrik, our foreign exchange student, arrives from Germany. Because I was struggling with whether or not to save them for my girls (my mom saved ours), I called Kristin. We discussed the fact that we have 5 daughters between us, and more like 6 or 7 little white dresses after a couple of flower girl gigs, and there are so many families that can’t afford fancy dresses for First Communion.

Kristin had a brilliant idea! We could start a “First Communion Dress Collection” similar to the Prom Dress “shops” that are conducted for girls who can’t afford a dress for their prom. I live in a huge Catholic parish that has a significant underprivileged population. Wouldn’t it be fun to set up a cute little FREE “shop” for families to browse before First Communion each spring? Kristin lives in a city with a thriving Catholic population and a significantly higher socio-economic level. We will collect donated dresses, have them cleaned, store them until spring, and stage them for “resale” (at no cost to the customers)! I called my parish, and they are IN!

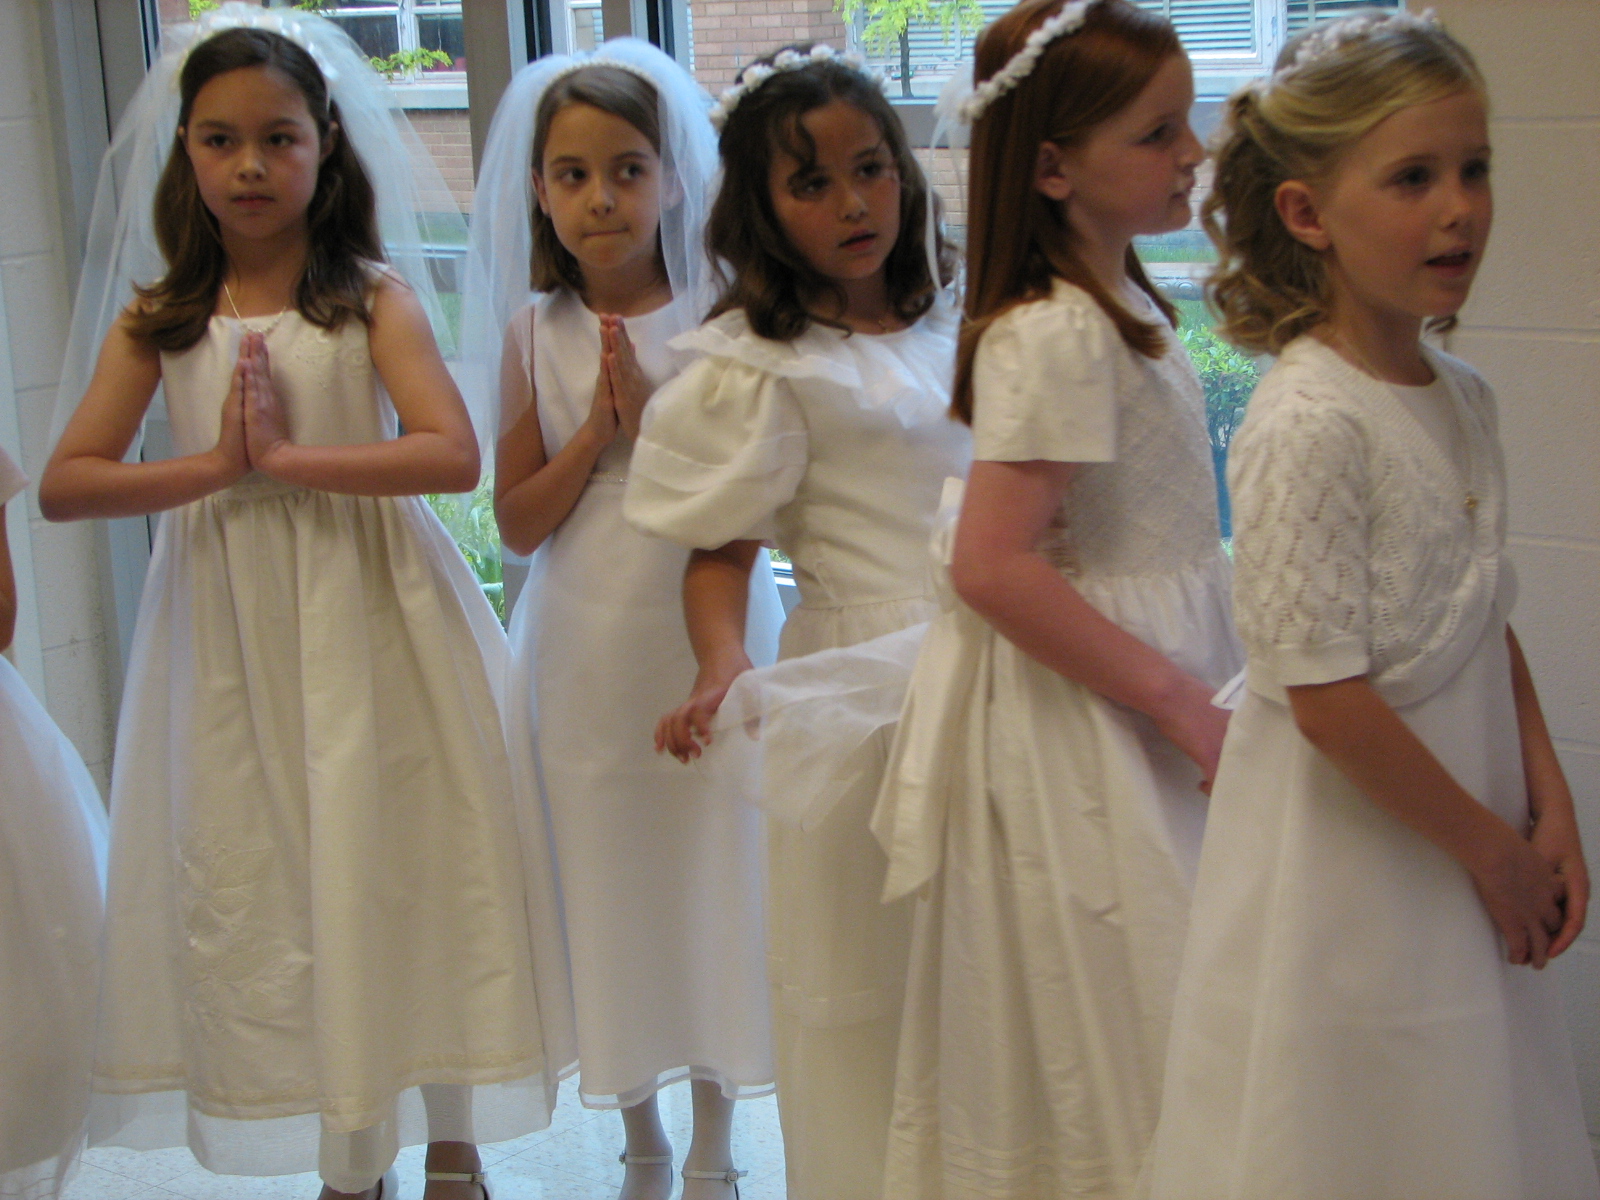
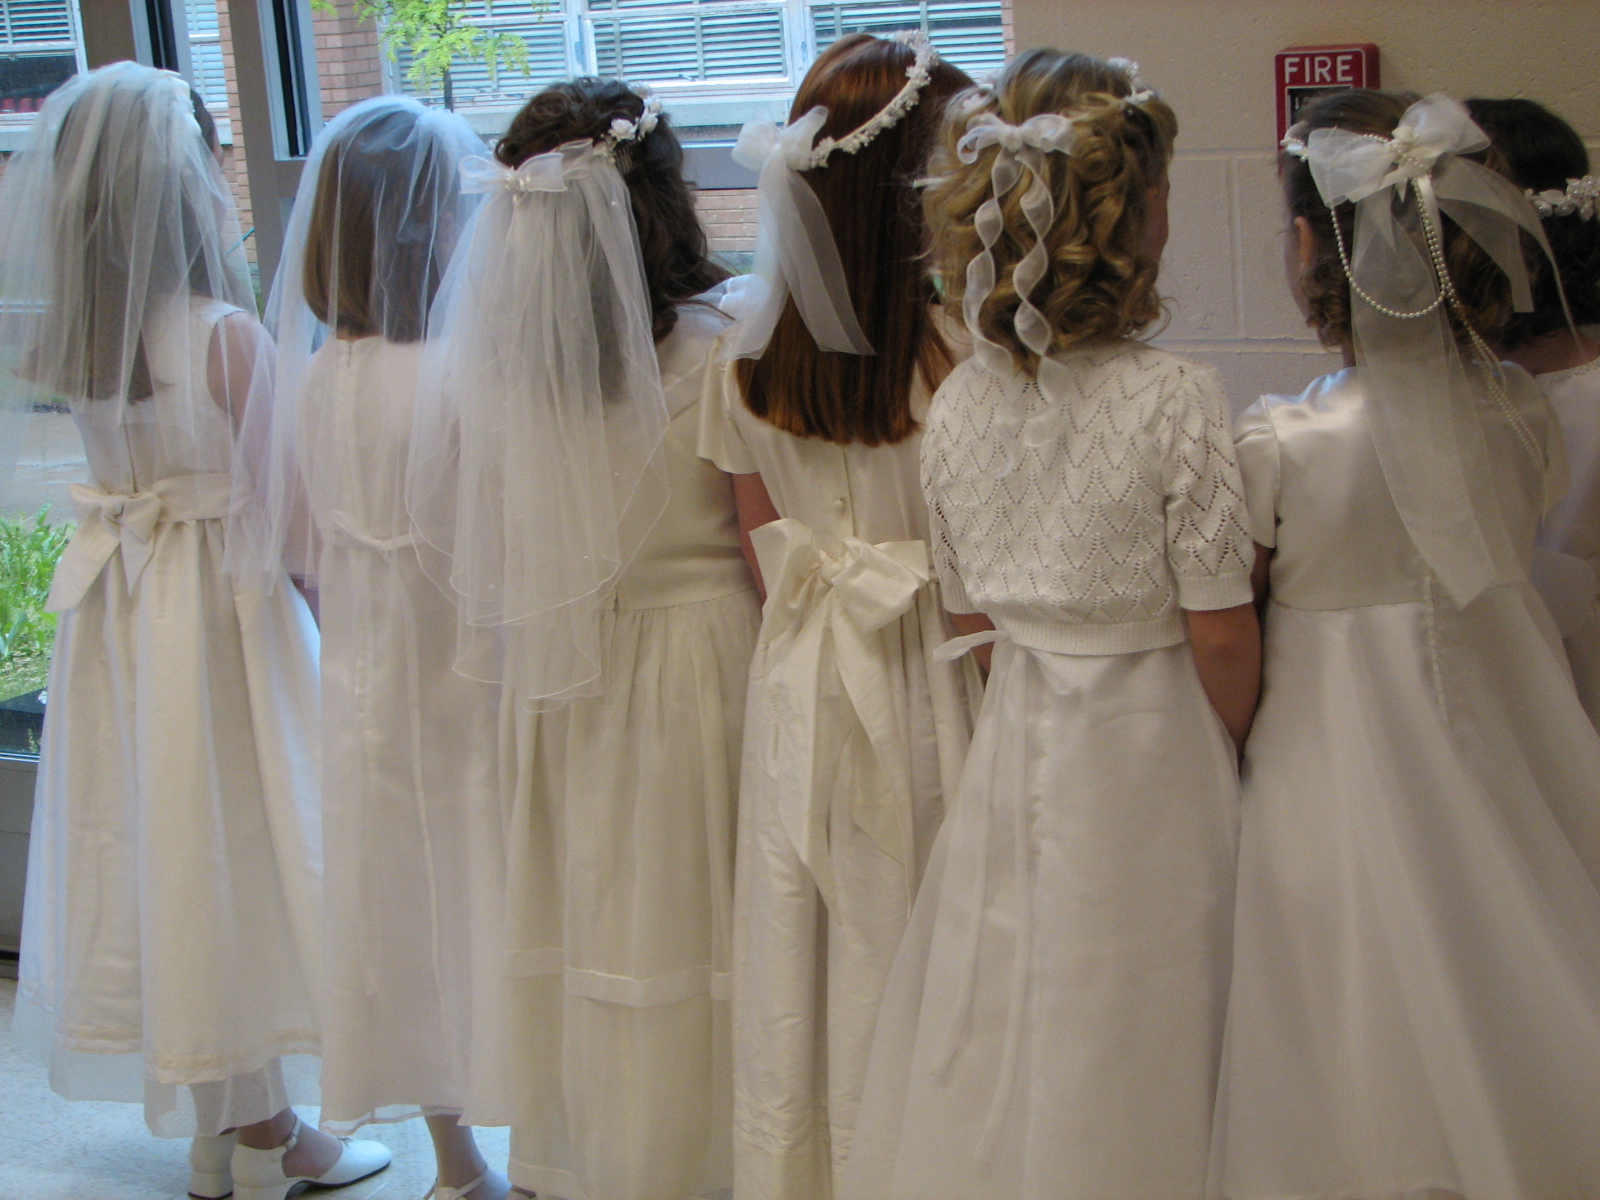
We are beside ourselves with excitement! What a fun way to reuse these beautiful dresses! And veils, and shoes, and gloves, and purses, and bows, and all of those sweet little accessories that make First Communion so memorable. We realize that not everyone is Catholic and makes their First Communion, but white flower girl dresses fit the bill perfectly for First Communion and can also be donated. 😉

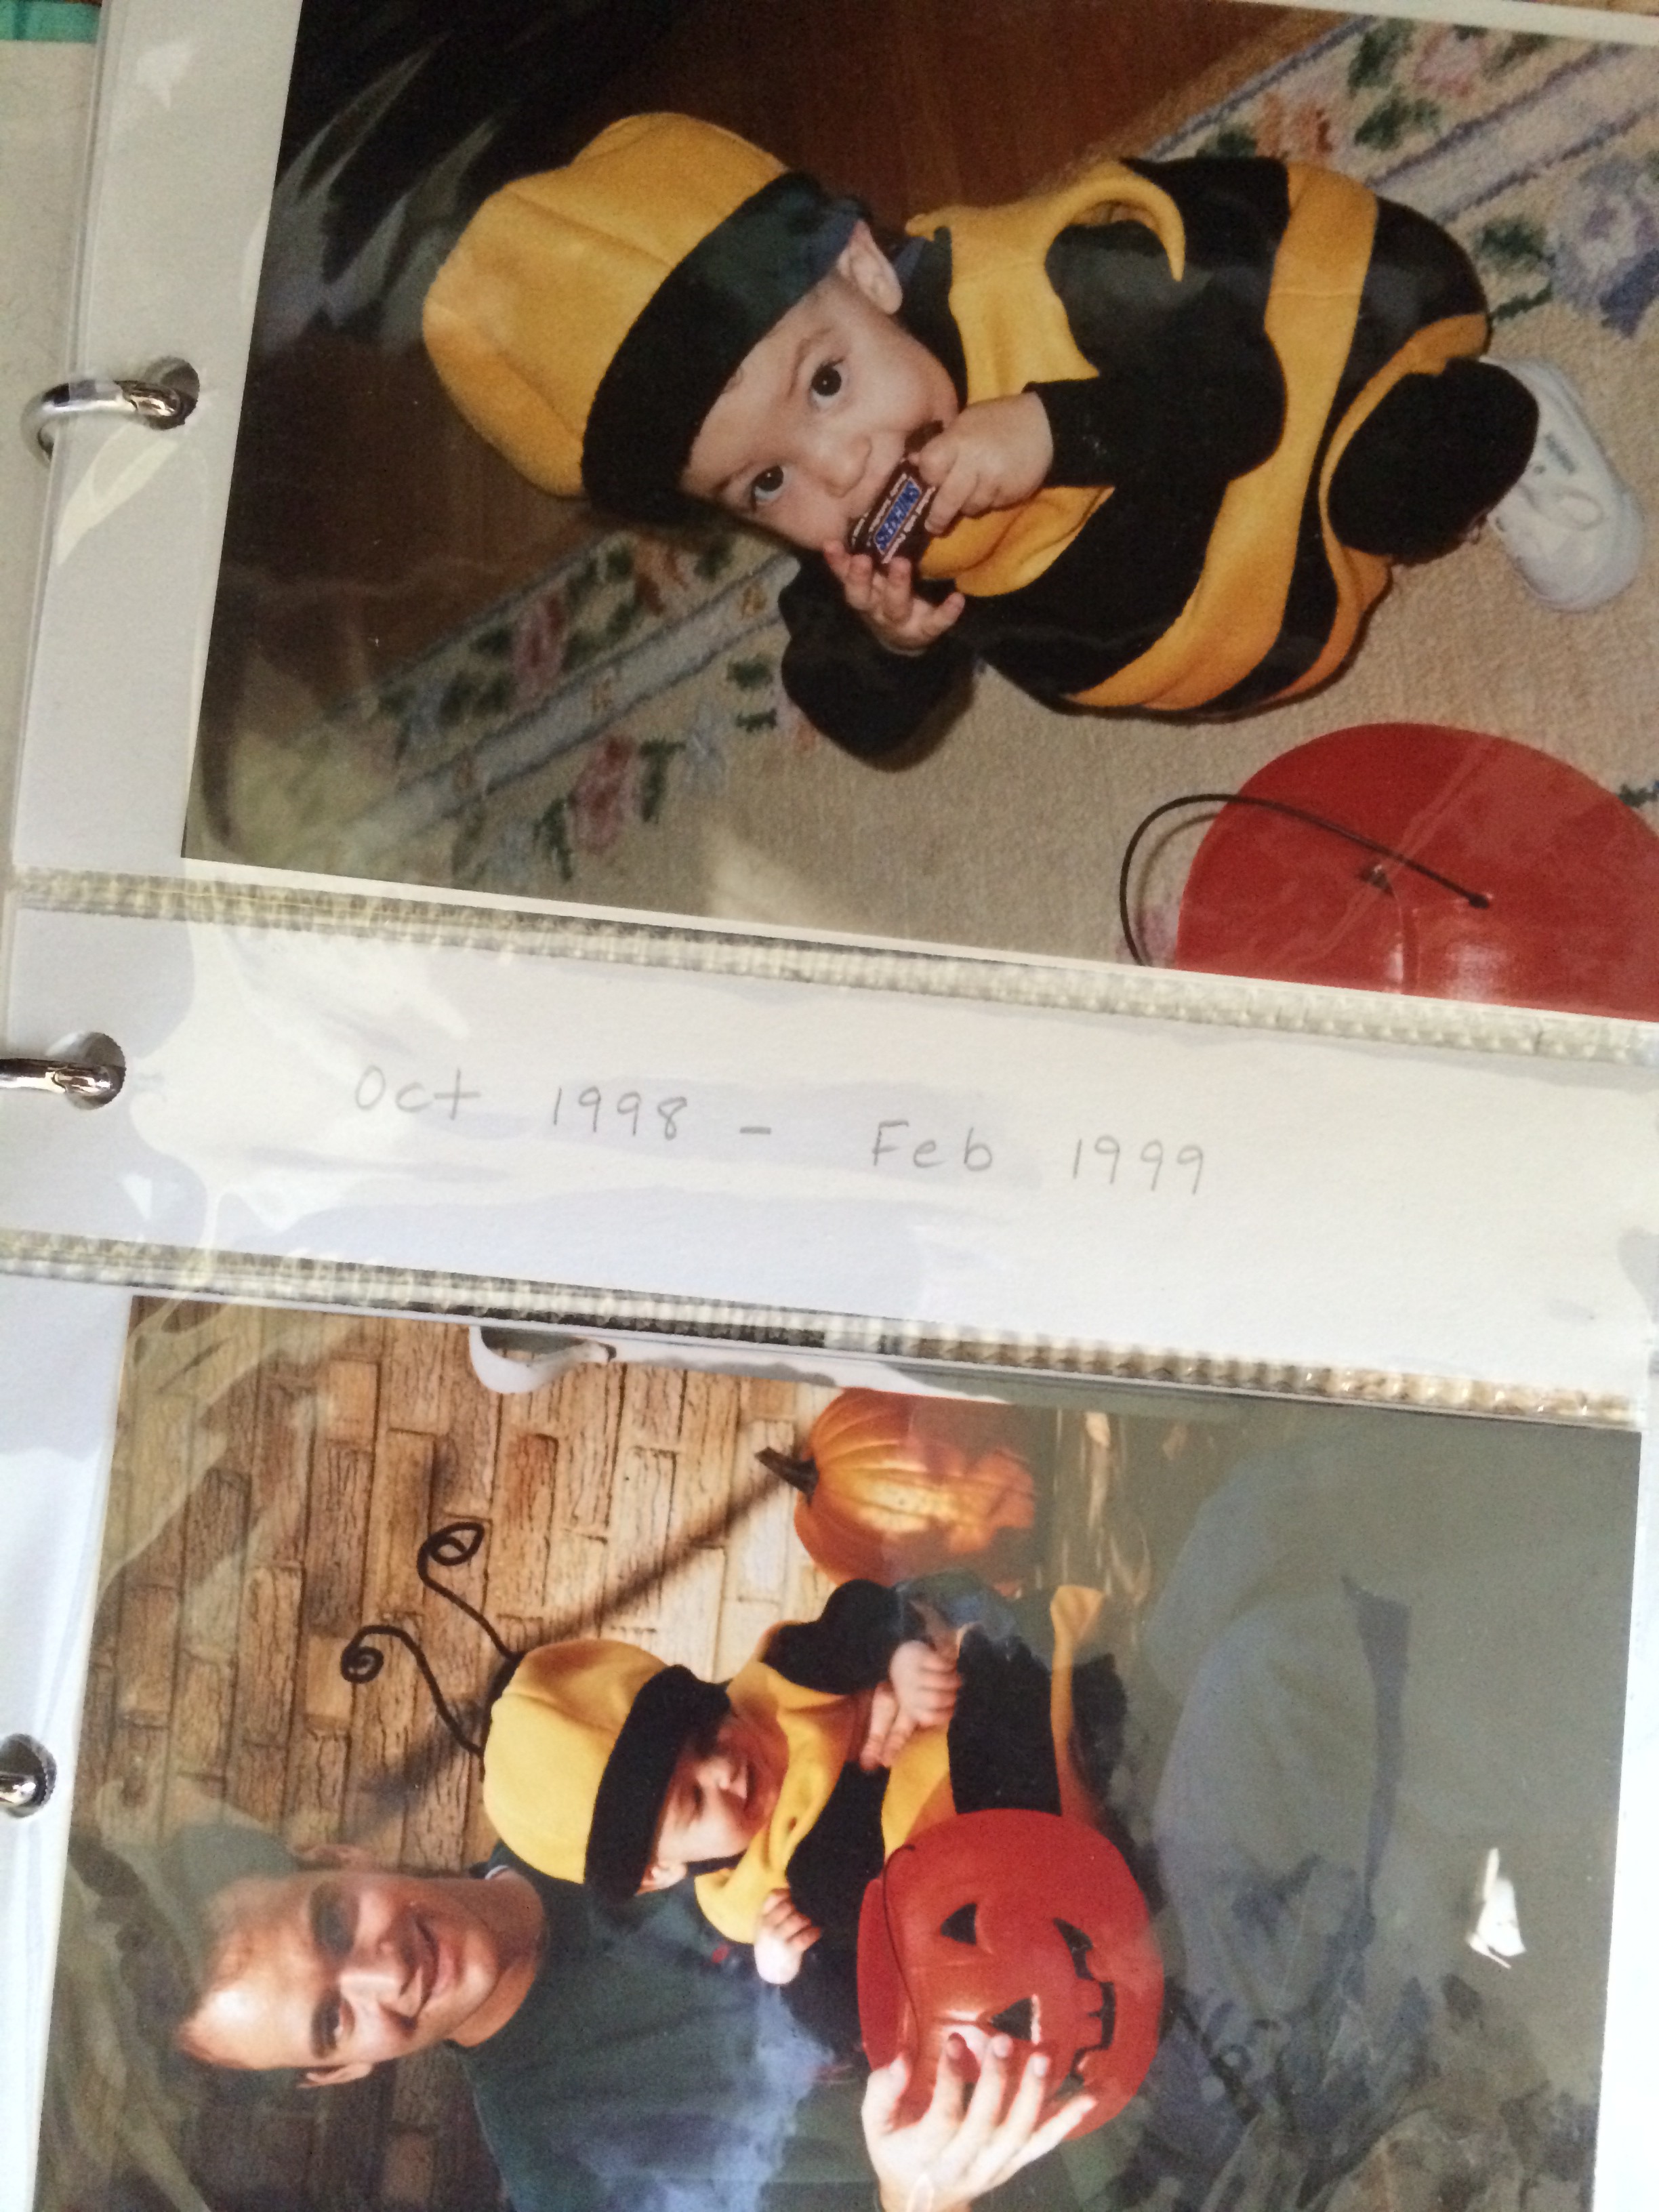
I’m going to dig out all of our First Communion pics and post them! The picture is memory enough; we don’t want the dresses to get dusty and frail rather than be worn in another celebration of life!

Kim's 1st communion portraitkristin38grace first comm1st_Comunion 005IMG_1760ella first commgIMG_1764


Back to School. . .Back to PTO

My girls are in two different schools. For me that means two PTOs to support. As we gear up for Open Houses next week, I am recalling how hot it was last year as parents and kids toured the high school campus. We had a PTG table set up as they entered the Performing Arts Center, and I wished I had cold drinks to offer. So this year I am going to be prepared. I am labeling bottled water with our school’s new logo. Maybe this will even encourage folks to join PTG!

photo 4 (1)

It’s very easy to label your own water bottles. There is a template in Microsoft Word that prints 7 labels per sheet. I print mine on cardstock because I find it easier to cut and tape, but you don’t have to. I cut them with a paper cutter so that they are straight and then apply them with clear packing tape. Easy breezy! Just don’t make the mistake I did at Libby’s Sweet 16 party and place them in a tub of ice. When water got under the tape, the ink ran! Oops. Or maybe you don’t have an inkjet printer, and that won’t be an issue. Stay cool!

photo 1 (2)photo 2 (2)photo 3 (1)

IMG_0381

For more on Libby’s Sweet 16 party. . .https://thespoonandthethimble.com/2013/09/24/sweetest-16/

Why Take Pictures?

Why take pictures if you’re never going to look at them? Or share them with family and friends? I have always enjoyed looking at pictures and I knew that having a baby was a golden opportunity to start fresh, without shoeboxes. . .

So 17 years ago when I was pregnant with my first, I hatched a simple plan to manage the rolls of film I knew I would be having processed weekly. I found these albums at Target and bought a few at a time.

photo 1 (1)photo 2 (1)

It was a little embarrassing that they filled up so quickly, but after the newness of the babies wore off, I got down to filling about 2 per year. And it was easy to mark the dates and keep everything organized. The photo lab lady at Walgreens became a personal friend as I visited her at least twice a week!

For a long time, we had built in open shelving, and it was amazing how often we reached for an album and paged through it while guests were over or we were just hanging out in the family room. But then digital cameras came out, and, like most people, our photo printing slowed to a crawl. I ran into the photo lab lady, and she nearly cried that she missed us! So hubby came up with the new plan: every year, between Christmas and NYE, he goes through the photos that we’ve uploaded to our computer from our camera and phones and makes a file of the year’s best 100 or so. Then I upload them to a photo printing site and create a photo book for that year. Splitting the work between us makes it a less daunting job. And the kids like to add backgrounds and doodads to the layouts once I get the pictures and captions in. It’s a family project!

photo (2)photo

It’s worked great; they are very thin and sit out on this tray in the family room to be picked up and thumbed through frequently. I love having each year of our lives at a glance. To be honest, we are a few years behind, but we sat down and did 2010 today, so I am feeling accomplished and thought I would share. Each book ends up costing between $30 and $100 depending on how many pages we include, whether we do a premium cover, and whether they have a  50% off deal going.

We have also made photo books dedicated to specific events or trips. Sometimes we have them mailed to my in-laws’ house as they are out of town and not tech-savvy,  so that they can see our pictures before we do. 🙂

photo (3)

photo (4)

One of my best brainstorms came as I tried to inspire a young niecelet to enjoy the local art museum. I offered her my phone to take pictures of all of her favorite pieces — there were probably 200! to comb through — and then when we got home, we made a photo book online together and had it mailed to her house. She took it to school and told her teacher all about her trip — and hopefully her newfound appreciation for art. 😉

ella

Got Kids? Got Stuff!

Children’s artwork and school work must reproduce in our homes. What to do with it? How to store it? 

Of course we all sneak some of it into the trash (recycling bin!) when they aren’t looking, but some pieces are too precious to give up.

photo (7)

Yesterday  I went through my girls’ school bins and heartlessly pared down to where I meant to be all along. I was able to reduce their 2 large bins each to 1 each. It feels great! Remember when your mom made you take the stuff she saved for you? Or is she so nice that she’s still storing it? I don’t like clutter, and I will be chasing my girls down the driveway with their 3 see-thru bins — “Baby Stuff, School Years, and Keepsakes.” Then it’s up to them to get rid of it, but I bet they each have a sentimental gene and will go through it and laugh and cry like I do.  Anyway, I guarantee that no adult child wants MORE than the three bins. They won’t have anywhere to put it once they start accumulating their own kids’s stuff! In fact, I will be paring down the “Keepsakes” bins next but will probably have to enlist the girls’ help on the decision making.

The Process

photo (5)

As the children bring home awards and A+ work, I stick it in a large, okay GIANT, ziplock bag marked for that school year. At the end of the year, the bag goes into the clear bin. Voila! Organized by grade! I tell people that I only save the 2 or 3 best things from each school year. Ha! Pulled out the bags yesterday, and each one weighed at least 10 lbs! So I pulled up the recycling bin and pitched anything that wasn’t important. Saved report cards, awards, Mothers’ Day poems, self-portraits, and photos. It’s funny that I was sure I had done this all along. Oh well, better late than never. Finally following my own rules.

How do you tame the paper monster?

From “crap” closet to “craft” closet

I apologize for my lack of posts. I would love to say I have been so busy crafting that I just didn’t have time to post but that is not really the truth. I have found a new hobby that I can’t seem to get enough of…..napping! I just adore it. Anyway, yesterday I decided to forgo my daily nap and clean a closet or drawer out instead. My house was clean and so I decided to tackle something that usually gets neglected. My poor linen closet came to mind. I started thinking that I don’t ever go in that closet except to throw the random crap in 5 minutes before company arrives. I thought I would take a look and refold some things and make some nice stacks. When I opened the closet and looked inside I started to realize just how long it had been since I had given this little closet any attention. what a mess messy I started to pull random things out. Beach towels, old (expired) medicine, half burnt candles (from my first house), used plug ins, bedding to bed sets I don’t even remember. I began by pulling everything out of the closet and started 3 piles. Keep, trash and Goodwill. wallflowers expired meds The majority of the crap went to Goodwill or trash. I kept only the beach towels but moved them to a Rubbermaid bin in the basement. Now staring at an empty closet I had to decide what I would fill it with. I walked around the house and realized one recurring theme I had in almost every room where signs of my kids “crafting”. I had buckets of crayons in almost every room. My laundry room has been a catch all for Play-doh, coloring books, markers, old pencil cases and glue sticks. I had 3 drawers in my kitchen full or markers, stickers, crayons, thread, glue, clothes pins, ribbon and other random artistic supplies. So I had my idea. I would consolidate our crap…er I mean crafts. Now normally my sister Kim would direct this project and I would just do as I was told but since she is 5 hours away, I was on my own. I remembered a few things she told me. 1. Buy all matching Rubbermaid and buy twice as much as you think you will need. 2. Buy clear containers! You need to be able to see what you have at a glance. 3. Label everything. It won’t get used it you don’t know it’s there 4. Keep 1 or two items. You don’t need 12 of anything. (Except scissors! They looked too cute to get rid of any of them) 5. Make it visually appealing but more importantly functional. I took a trip to Target. I bought a lot of bins, more than I needed! I stuck with a color theme….yellow, black and white. close up storage I bought chalk labels to label the bins. This way I can change them as the bins change contents. labels I placed empty bins on the top shelf so I would know exactly where they were when the time came to fill them and so they wouldn’t accidentally get used for something else. extra storage Now I don’t know about you but we always have a lot of unopened crafts from birthday parties etc. that I save for a rainy day. I placed these on the top shelf as well. I wanted to kids to be able to see what we have but not be able to grab it all!!!! 🙂 games I tried to display the craft supplies so they would be easy to see what we had and easy to access as well. markers and sissors All of this took about 1 1/2 hours to complete. The kids love it and it keeps the crafts organized and in one place. As crayons get broken and markers run out I throw them immediately in the trash. So there you have it from “Crap to Craft”! fun crafty Before/After closet compare

A forgotten household task . . .

Ironing.

I don’t keep a “to be ironed pile” like my mother did. In fact, I rarely iron anymore. I grab things out of the dryer or sometimes even the washer and hang them up in hopes of avoiding wrinkles. Then I pull out the ironing board to touch things up right before I wear them. And on busy mornings you go for something that doesn’t need ironing, right?

Since starting my burlap obsession, I’ve had the ironing board up and given it a workout. Finally perfected the pennant technique to include ironing Wonder Under between two pieces for sturdiness and to avoid fraying edges. Then I iron the top down into a half-inch fold, giving a nicer place to glue the twine than across the front of the pennant.

All of this “fun with burlap” has left my ironing board and my iron a mess. My Dear One, who actually likes ironing, is the one who purchased both of these. He’s pretty meticulous about his clothes and loves that Rowenta Professional iron (even bought his mother one!).

Thought I’d press a few things for my girls and myself this rainy Saturday morning but have to Google “how to clean an iron” first. And then consider going to Target for a second ironing board cover; maybe I can switch them out for clothes vs. burlap?