General Finishes Antique White Buffet

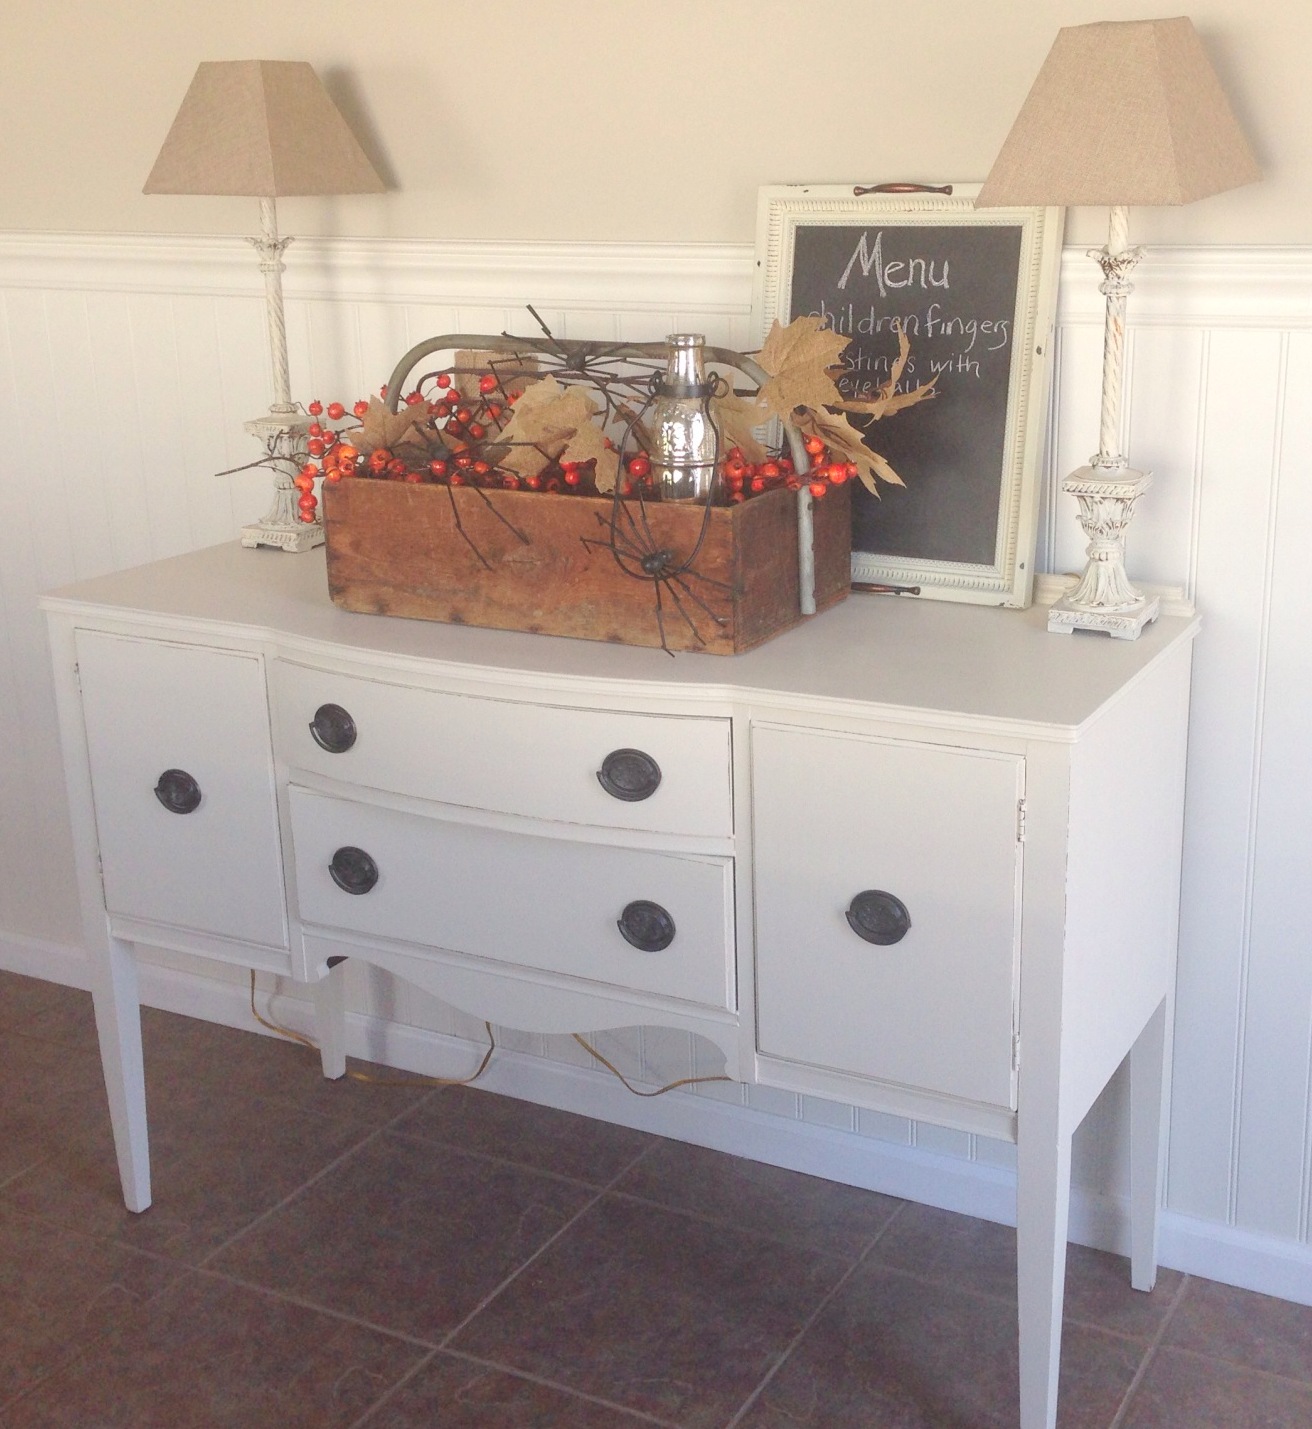
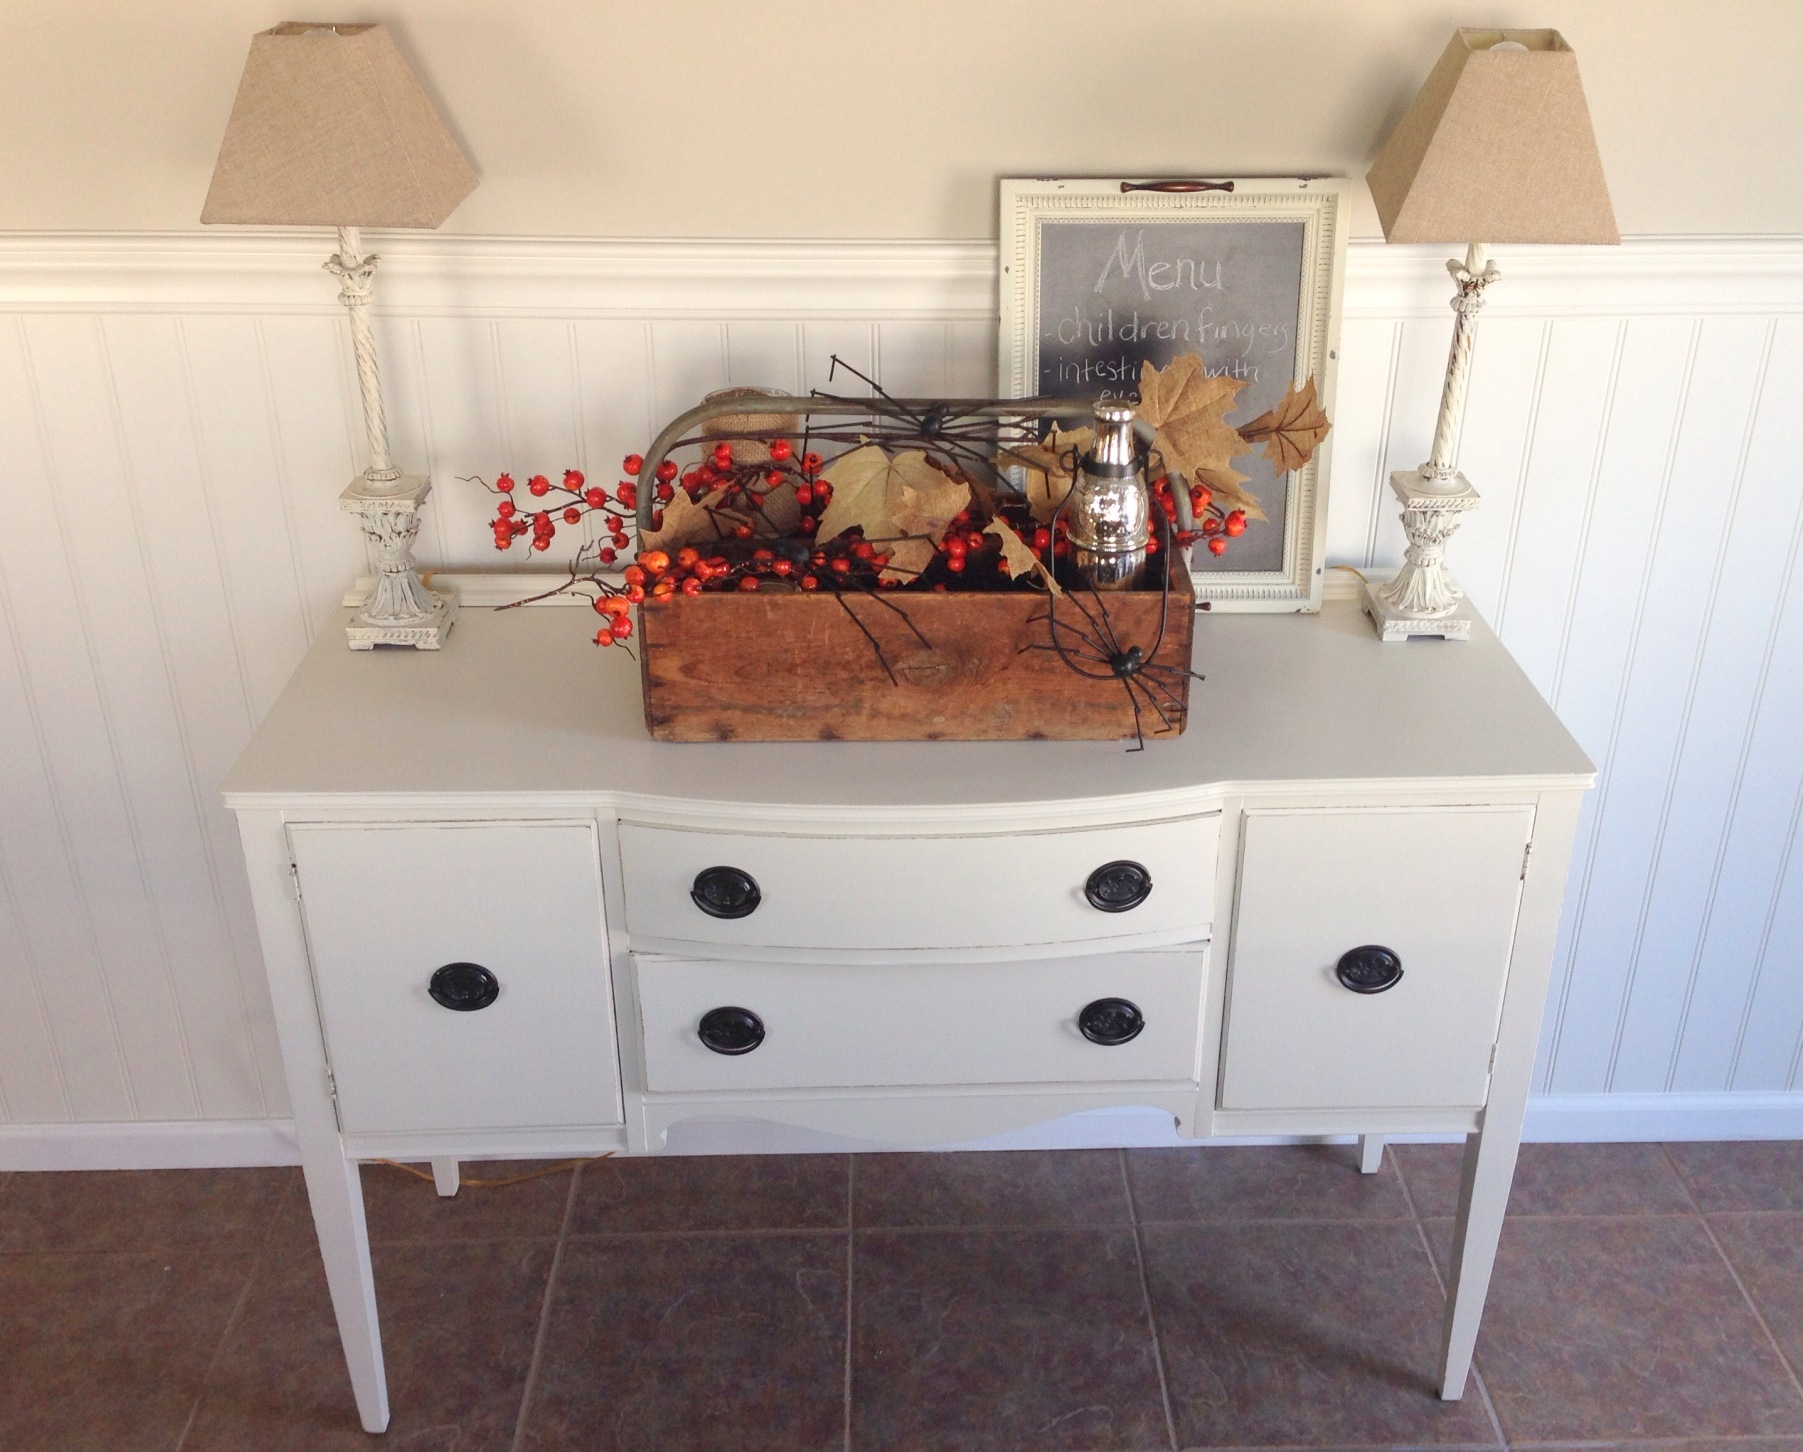
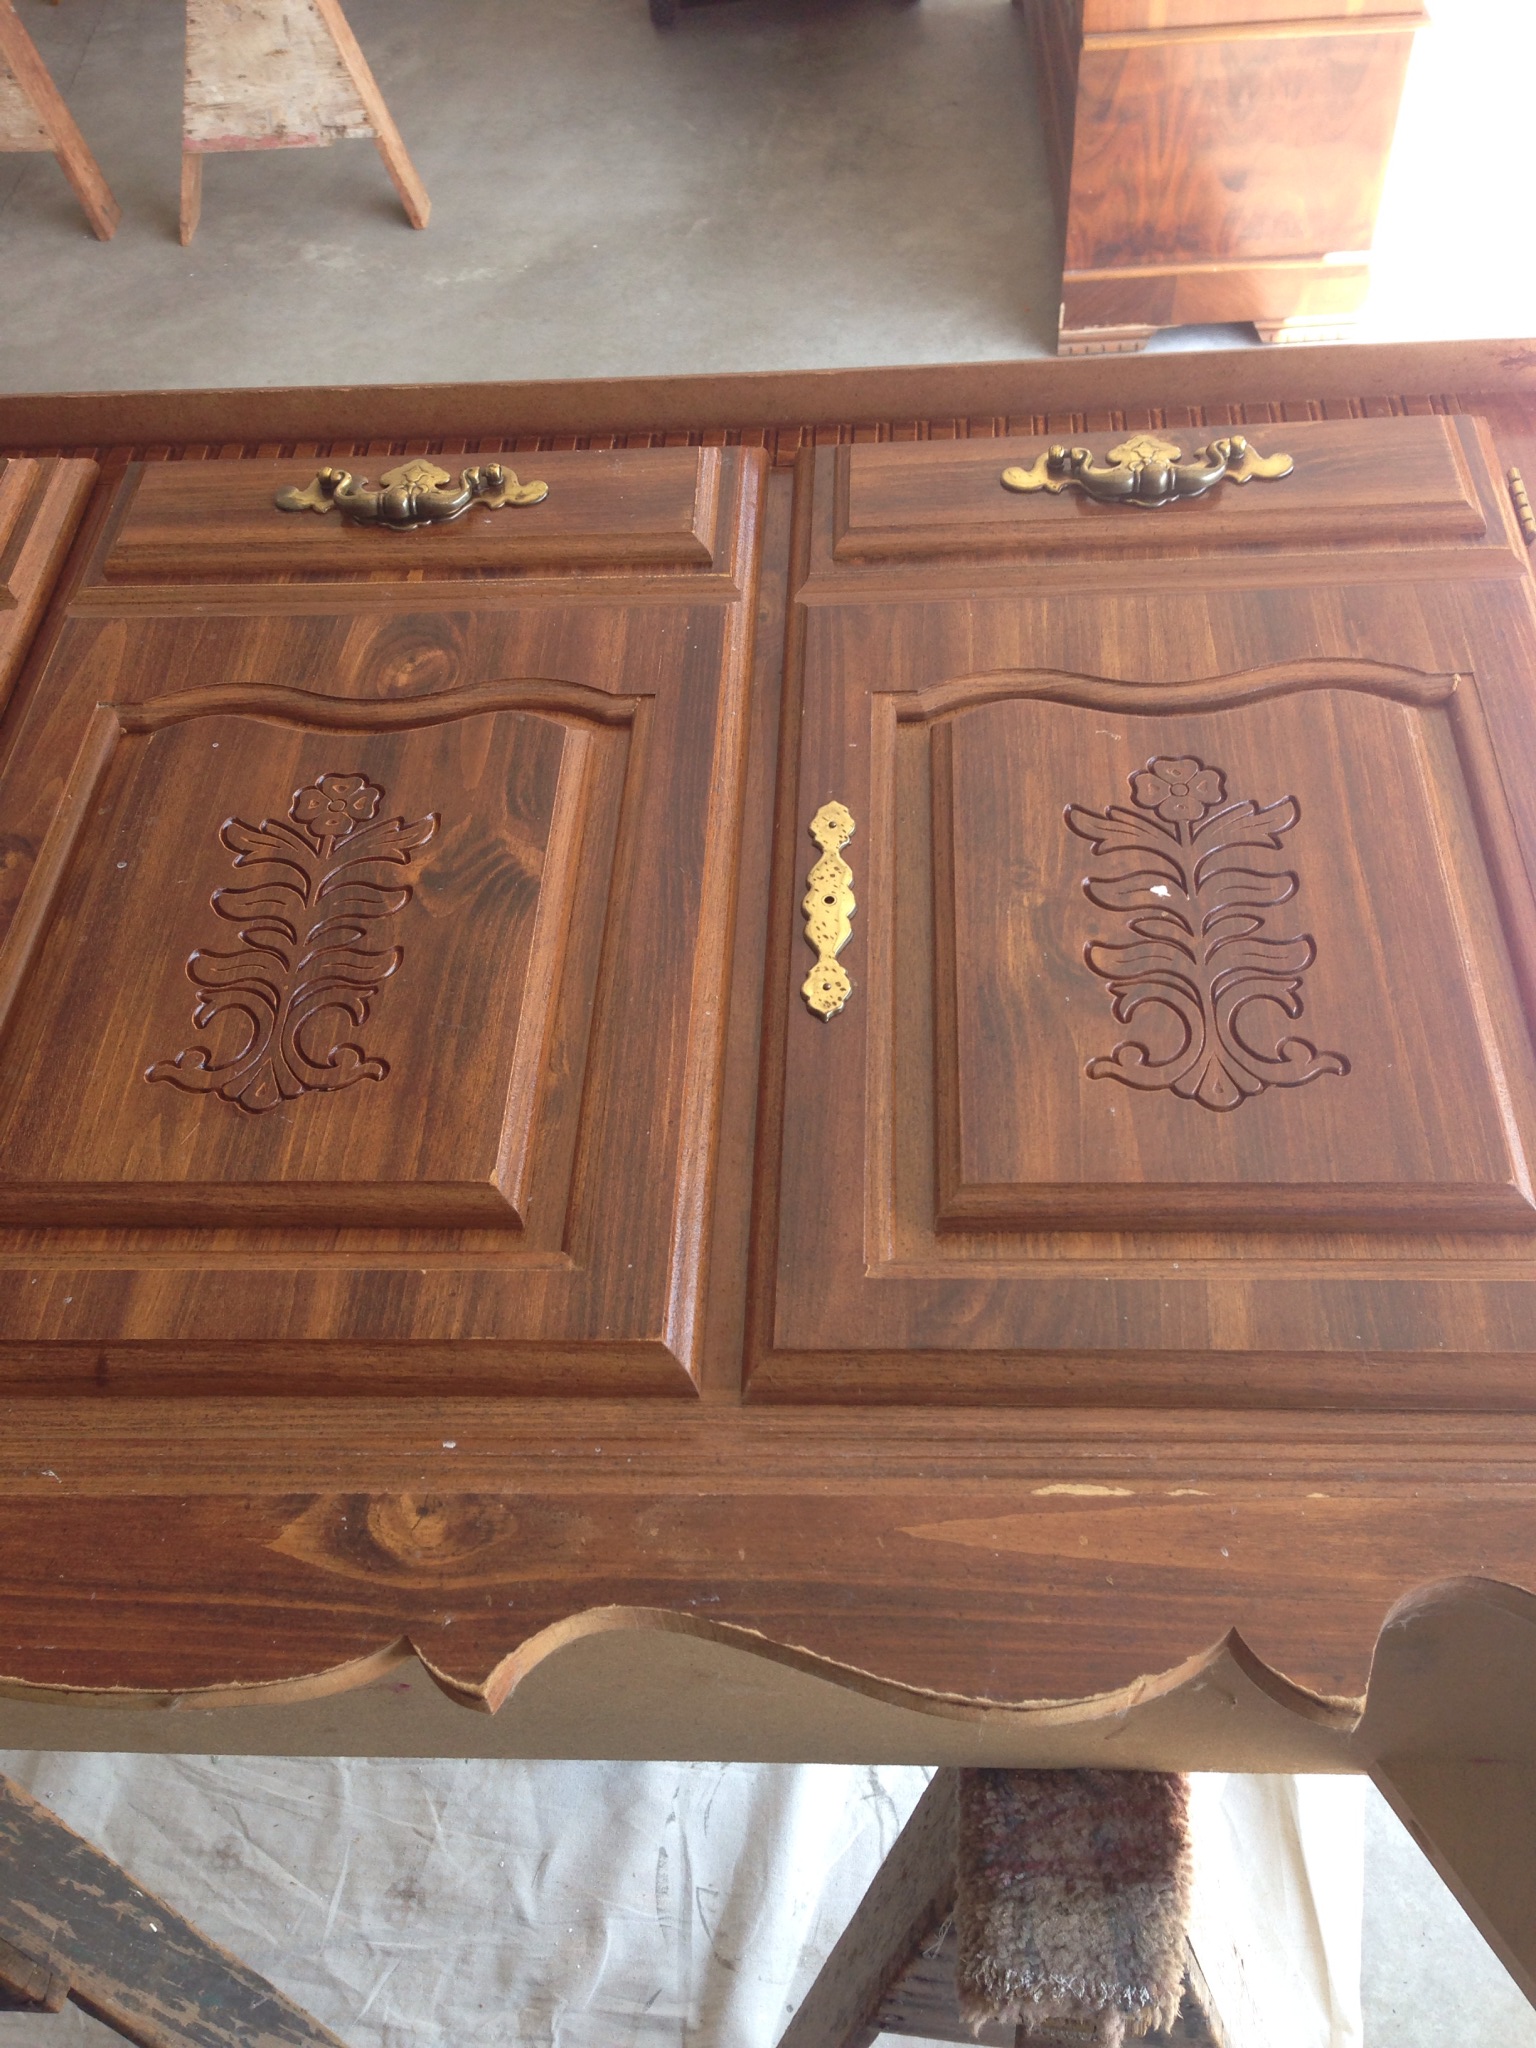
My dear friend Deana has been looking tirelessly for a buffet to go in her breakfast room.  She found this gem on craigslist finally and sent me an inspiration picture of what she wanted it to look like.  She was looking for a white or off white color to accent her grey walls.  She didn’t want anything too ornate or fancy.  This buffet was perfect but needed a little face lift.

10711890_10203387941033111_1624451112_o 10686303_10203387944113188_473587128_o

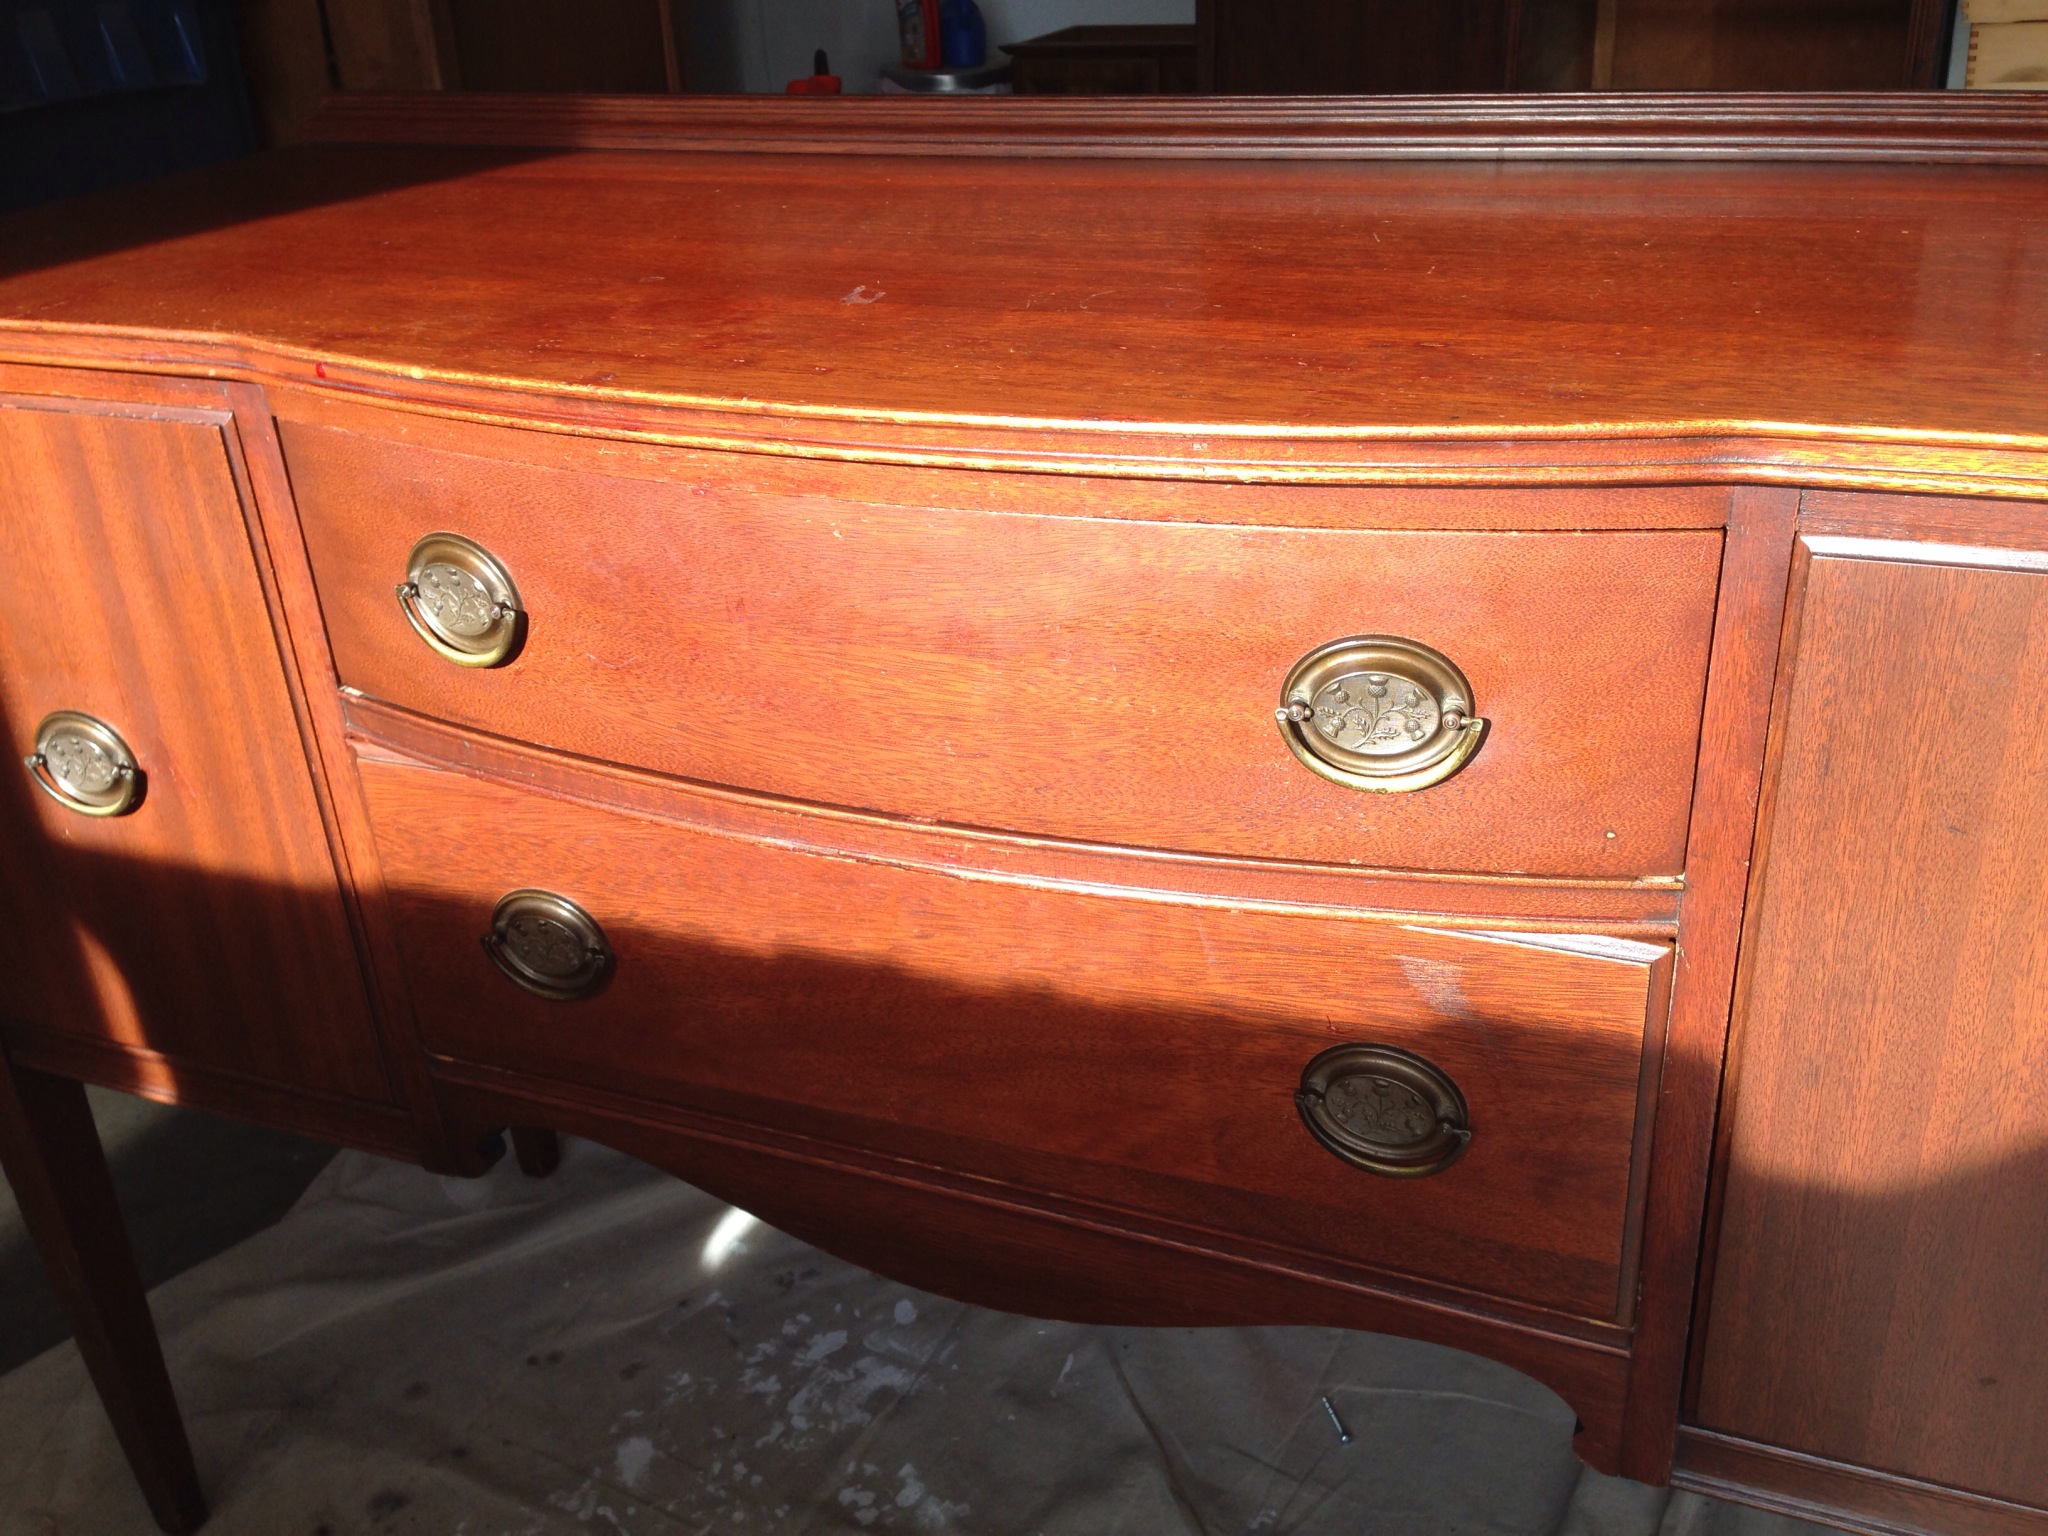
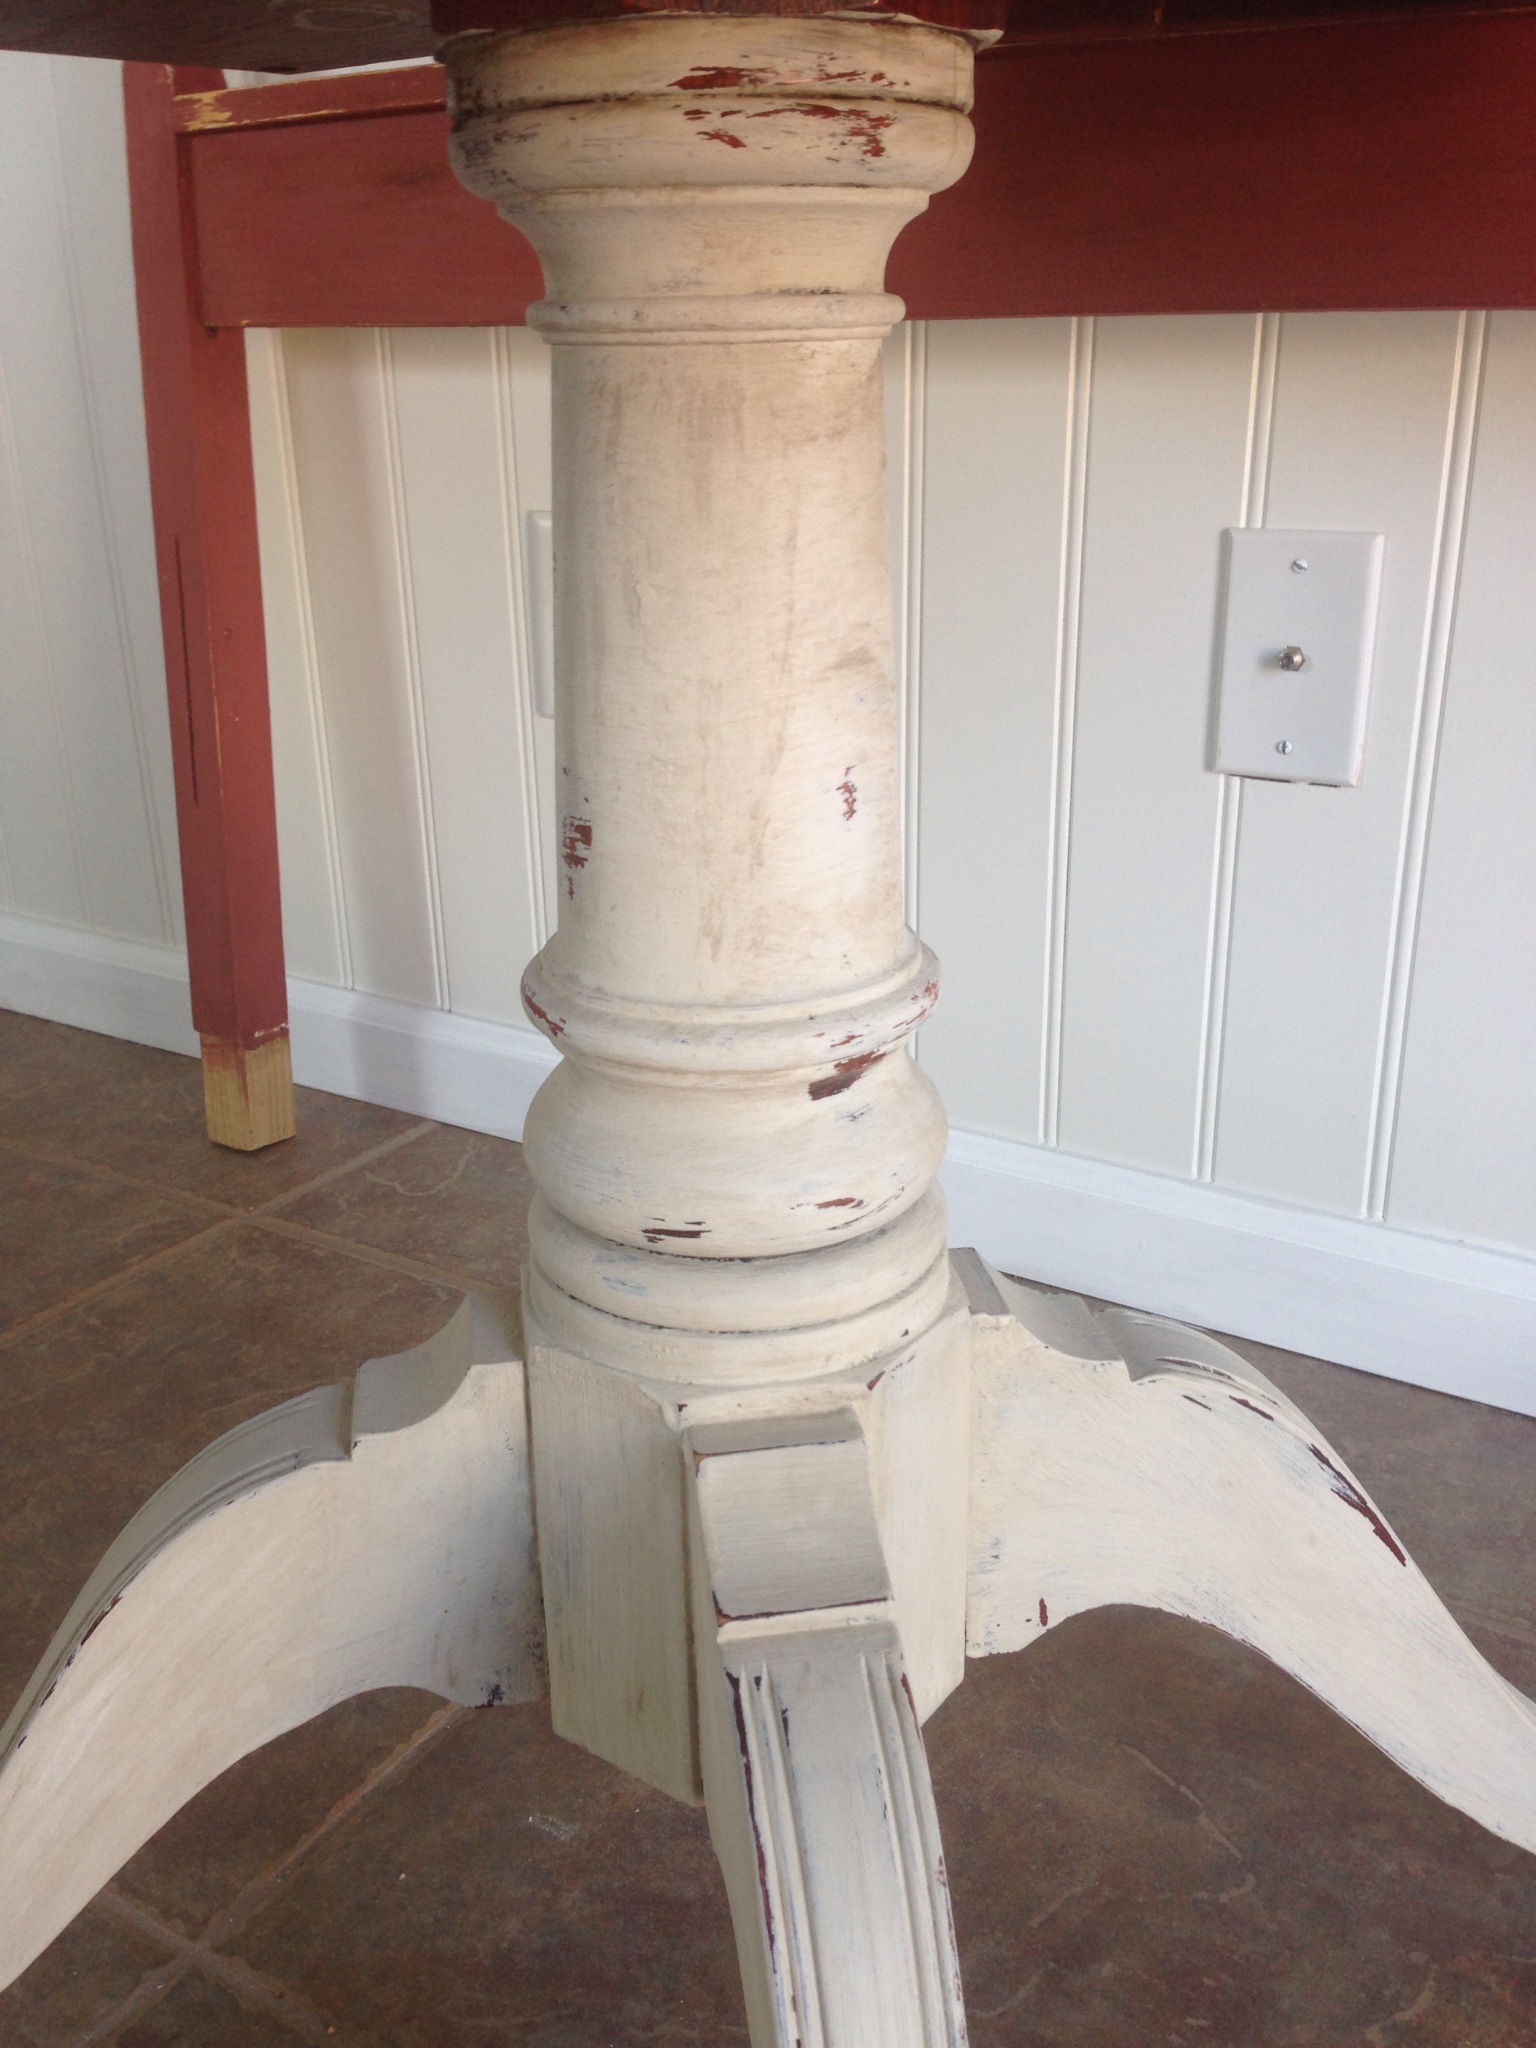
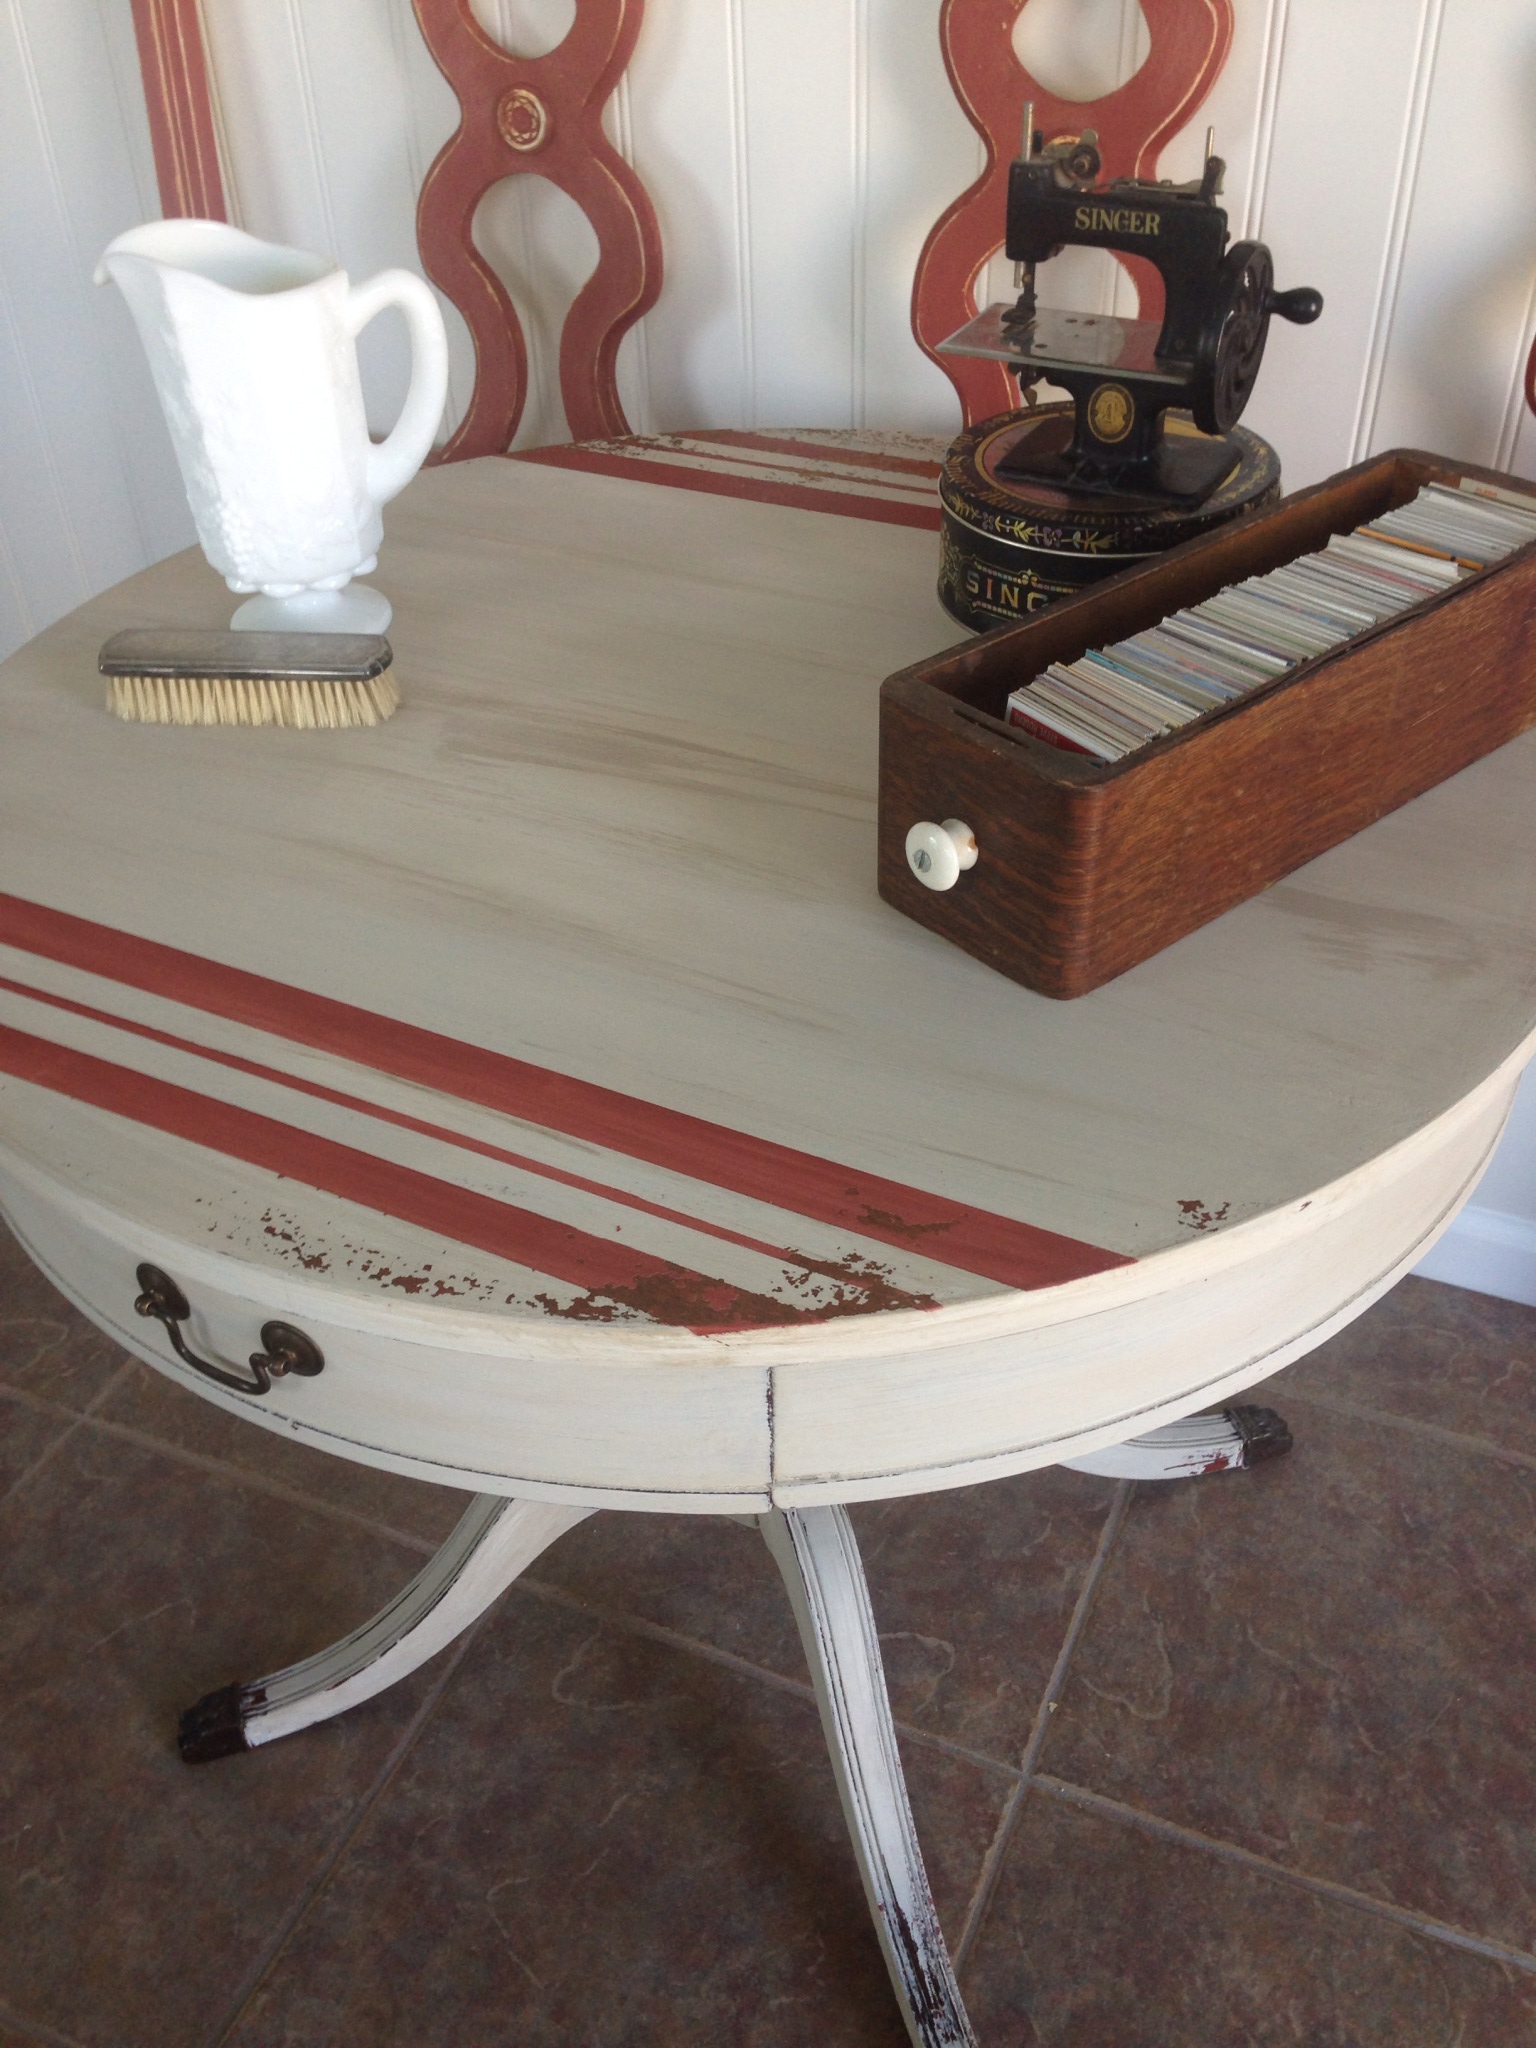
I first started by giving taking off all the hardware and giving the whole buffet a light sanding.  Next I cleaned the piece off with equal parts alcohol and water.  Once all the dust was off and the buffet was dry I applied a coat of General Finishes Antique White.  This paint is awesome if you are looking for a really smooth finish.  It goes on so smooth and dries quickly.  After I applied a coat of paint, I lightly sanded the buffet again and cleaned off with a dry rag.  I repeated the process three times.  After the final coat of paint had dried, I lightly sanded the edges just to give a little depth to the piece.

Deanna also wanted the hardware to be darker.  I found this rubbed bronze spray paint at Lowe’s that did just the trick.  I cleaned the hardware and then sprayed three times, allowing for dry time in between each coat.

10412276_10203413174983944_945116607_o 10677277_10203414355813464_1350155722_o 10707458_10203414889346802_166924929_o

I am loving the buffet and thinking about keeping it and changing my phone number.

Deana Buffet 3 Deana Buffet 2 Deana buffet 1 Deana buffet 4

Annie Sloan updated settee

I found this awesome settee on craigslist and couldn’t wait to get my hands on it.  I have to say it wasn’t much to look at when I saw it.  I knew with some Annie Sloan chalk paint, she could beautiful once again.

settee old

I applied two coats of Annie Sloan Pure White to the entire settee.  Once dried I sanded to distress and then applied my favorite wax mixture.  I used 1 part Annie Sloan Dark Wax to 2 parts Mineral spirits.  This “waters” down the wax and allows you to brush on the entire piece rather than rubbing the wax on.  I find that it gives it a more realistic aged effect.  Afterwards you simple take a lint free cloth and wipe the wax glaze off.  This leaves the finish super smooth.  You will still need to add a protective coat of wax.

Now to reupholster this piece….All I have to say is thank God my Dad was staying with me while he is in transition of moving to Florida.  He sat and removed every single staple from the old upholstery.  THANK YOU DAD!  That was probably the hardest part of this makeover.  Once he removed the old fabric we realized that none of the foam or wood could be reused.  It was completely shot.  My dad took the plywood to Lowe’s and they custom cut two new pieces for us.  He then went to Hobby Lobby to pick up new foam.  We quickly got to work replacing the entire seat.  It is so much more comfortable and sturdy now.  I added a decorative trim around the fabric to hide the nails and give it a little more pizazz.  I just love the way it turned out.  What a difference some paint and new fabric can make.  My oldest daughter is trying to hijack this piece for her room.  I need to sell it while she is at school:-)   I think it would be great as a bench in a living room or entry way.  It would be perfect in a mud room as well.  Just adorable.  Right now it is sitting at the end of my daughters bed and it does look like it belongs there.  🙂  If it doesn’t sell I know it was meant to be right where it sits now.

Settee new settee 3 Settee 2 settee seat

Hope Chest Makeover

We all have them. . . the old hope chest we either inherited from a family relative or that were gifted to us in our teens.  A friend (Deana), I met online asked me if there was anything we could do to update an old hope chest of hers.  She referred to another I had sold about a month earlier.

chest finish

Deana really liked the chevron pattern on top and asked if I could do the same to her chest.  Unfortunately her hope chest was a little different.  It had a fabric top.  I was pretty certain that the wood underneath would be “unfinished” but thought we could just recover with a cheveron fabric.

deana top deana side Deana chest before

I got to work on this chest by cleaning it and detaching the fabric top.  It was screwed in to the top of the chest with 8 screws.

I started painting the chest keeping the other grey and white one in mind.  I used the same colors (Annie Sloan Pure White and Paris Grey) and asked Deana if she wanted it aged and distressed just like the one she liked.  She said yes so I got to work on the fun part…..beating up the furniture a bit.  🙂

Next I went upholstery shopping.  I sent Deana several samples but in the end we knew we wanted the grey and white chevron.

Once the staples were removed, I measured the fabric and used the original fabric as my template.  I was able to use the original foam as well.  It was still in great shape.  Using a heavy duty staple gun, I attached the fabric to the original board.

deana recover

deana top finish deana finish top

Finally I waxed the chest using Shabby Paints Vax and using Annie Sloan dark wax for aging.

deana finish

I have to say the best part was delivering this chest back to Deana.  I am always nervous when a person entrusts a piece of furntiture to me.  The look on Deana’s face and her reaction made my day.  Most excited about my new friendship with Deana….she is so sweet and shares my passion for all things repurposed.  We were “texting buddies” for sure during this process.  Deana kept sending other pieces around her house asking if we could make those over as well.  And let me just say, she has GREAT ideas and fabulous taste!  How gorgeous is Deana??

deana

A before and after of this chest back home!

deana before after

What do you think?  Do you have an old hope chest like this?  If so please share your makeovers.

Goodwill table turned Dollhouse chest


I picked up this little table last week at Goodwill.  I just loved the legs and the design on the drawers.  I knew with some paint and new hardware, it could be so beautiful.  My daughters thought it was the ugliest table they had ever seen.  I wish I had taken a before picture but I totally forgot. 

I decided to turn it into a Dollhouse chest.  It has two huge drawers for storing toys.  I went to one of my favorite local shops to pick up some paint.  I used Van Gogh’s First Kiss (pink) and Maison Blanche’s Magnolia (While).  After applying two coats of each I started work on the French stenciling.  This part was a little tough because I had these strips of French sayings.  After I would paint one, I would have to wait for the paint to dry, move it down and paint the next verse.  The drying part is what slowed the process down.  Once the stencil was applied I taped off the edges of the top and put a grey border all the way around.  I added a pink stripe towards the bottom and one along the top.  Next came the distressing.  I only lightly distressed this piece.

After sanding and cleaning the table off I applied two coats of Shabby Paints Vax.  This is one of my favorite products.  It is so easy to apply and requires no buffing.  It is also VERY durable. 

Now my daughters all love this table and are begging to have it placed in their rooms.  So sorry girls!  You didn’t love me when I was ugly, so I must find a new home:-)

doll house 7 Doll house table 2 doll house table 3 doll house table 4 doll house table 6 Doll house table


A Place to Store Paint

Sister Kim came to visit this weekend.  After seeing cans of paint, brushes, stencils, stain and other painting paraphernalia, she decided she had to find an accessible place for me to store paint.  She shopped around a bit in the garage and set her eyes on this ugly Goodwill find I picked up for  $12.50.

10594300_10203019592104618_772624481_o 10571513_10203019589104543_1534104580_o 10585114_10203019591424601_42406470_o

I love to paint in my garage but store my paint in the basement.  Needless to say when I paint, cans rarely make their way back down there.  Kim decided we had to keep them somewhere that I would actually put them away.  So we painted this ugly little girl up to match my kitchen décor.  God knows I spend enough time in that room.

We painted the cabinet using The Real Milk Paint Co’s Yellow Rose and Maison Blanche Magnolia.

10586886_10203020545448451_988992091_o

After painting I applied Dark wax and distressed.  My favorite sister then applied a coat of Shabby Paints Vax (We LOVE this stuff).  No buffing required.  Kim then ran through the house collecting various paint supplies strewn all about and began filling this little cabinet up.

10594310_10203020536488227_1474122292_o 10586836_10203020484926938_1852481747_o 10581276_10203020485086942_1407306628_n 10577991_10203020540928338_559743629_o 10589428_10203020447966014_414381723_o

I’m seeing Coastal Blue

I recently took on a job for a client named Sarah.  She was looking for something to go in her entry way, perhaps a chest or bench.  As most of you know I am a regular on Craigslist, so when I ran across thiss beauty I knew it would be perfect for her space.  I sent Sarah a picture and she loved it as well.

Entry way chest before

After I bought it, I met with Sarah at her home. She has a vision and I wanted to really capture that for her.  The entrance to her beautiful home is a gorgeous gray color.  We sat and talked about what she was looking to do.  Sarah mentioned that she would love to tie some navy into her color scheme.  I have worked with many blues before but never navy.  I love navy but had just never painted anything  with it.  So I consulted with the best painters I know, and they turned me onto General Finishes Coastal Blue.  Can I just say, “This color is amazing!”  I really wanted a dark, dark navy, and this is it!  As I was leaving Sarah asked me if I could do something with the table she currently had in her entry way.  It is such a cute table, and I knew we could tie it all together by painting both pieces.

Black table before

We decided to use a bright white for contrast on both pieces.  Sarah was great, though, and gave me creative license to do whatever I thought would look nice:-)  I wanted to jazz up the table and do a stencil or a stripe.

Navy table 2


Stripe

navy table 3

I lightly distressed the white part of both pieces using a fine grit sandpaper.  I waxed both pieces using a clear wax.

chest 6

chest bottom chest 6

I am thinking these may look too nice in my house to send home?  Just kidding Sarah……enjoy your new entryway furniture!  Thank you for trusting me with these beauties:-)


A little french country

Recently, I decided my daughters each needed their own rooms.  My two oldest had been sharing a room for the last 5 years and it just wasn’t working anymore.  That’s what happens when one is clean and organized and the other can’t help her clothes find the dresser.  I decided I wanted to paint their rooms white.  I was finished with the crazy colors that once graced their walls.  I knew I could add color in other ways and then change it up as their tastes change over the coming years.

My oldest daughter wanted teal and orange and my youngest was requesting blue and yellow.  So we started by painting all the walls white!  I wanted a clean place to start.   I was over the neon colors that had covered their walls.   I was so happy to find this cute dresser on craigslist for my oldest daughter.  I bought it for 20 dollars!  I couldn’t believe it.  The woman had already stripped and sanded this piece.  So I got to work on it right away. Here is a little before and after of this makeover.

10358676_10202548336443521_72672413_o
Dresser before
grace dresser
Dresser after


Cool book clock from Aunt Kim….

Books
Fun clock hidden among the books

Next I had a bookshelf in my basement that had been given to me as well as this antique dresser that I had purchased off of craigslist, well over a year ago.  I decided to do my middle daughters room with a French Country flair.  So I got out my Yellow Rose Milk Paint from The Real Milk Paint Co. and started to paint.  When the piece was covered completely I just thought it needed a little depth so I painted the trim in a white color, giving it some dimension.  I finished the whole thing by distressing a bit and applying a dark wax glaze.  I then added a clear wax for protection (My daughter is HARD on furniture!)  I finished it off by creating a cute book banner out of twine and an old copy of Charlotte’s Web I had (one of our favorites).bookshelf top knob bottomNow the dresser in my basement that I had purchased off of Craigslist about a year ago.  I decided to paint it using the exact same method.  Here are a few pictures of it before and after.

dresser before full dresser dresser close dresser leg dresser mirror

I just love the way both of these turned out.  I feel like I am at a country cottage in France when I walk into her room….well after I pick up the dirty laundry she has strewn about.  🙂


Red Barn Milk Paint Table

I recently acquired this table and sent my sister a picture.

10528378_10202872315062784_2137895024_o

I asked her what color I should paint it and she sent me this picture back as inspiration.

towel

Sister has crazy good taste.  I will have her post some pictures of her house soon:-)  I chose to use Milk Paint from the Real Milk Paint Co.  I love their paint because when used without the bonding agent you get this naturally “chippy” look.  Because these types of towels are antique towels from the 1930’s I knew I wanted the table to have a vintage feel.  I cleaned the table first and then applied a coat of Parchment Milk Paint to the top.  The wood was bleeding through after the first coat so I applied a second coat.

I didn’t really like the table and sent Kim a picture.  She agreed and said the whole table had to be painted.  So, I went ahead and put two coats of Parchment on the rest of the piece.  After the paint had dried I taped the piece off and decided to do red stripes on both sides of the table.  I used The Real Milk Paint Co.’s Red Barn.  I applied two coats of the red as well.  Once the paint had dried I carefully pulled the tape off.  The paint began to chip upon drying and I love how it nearly took the stripe off on one side.  It’s like this paint has a mind of its own and knows what will look best.  I LOVE smart paint!  Once all the paint had dried I applied a dark wax glaze to the whole piece giving it an even older feel.  Finally I applied a clear wax protective coat to the whole table.  I just love the way it turned out.

10552214_10202883623545489_402714059_o 10552116_10202883623665492_1369465220_o 10543423_10202883624785520_208118677_o 10528398_10202883624305508_40688098_o 10526844_10202883625785545_686507126_o 10523149_10202883624025501_2094438053_o

It is pretty and looks so sweet I don’t want to sell it but my house is turning into a furniture store.  If you know anyone in search of an adorable end table, let me know!


Farm house shabby chic headboard

My sweet sister always brings me something special when she comes to visit me in St. Louis.  The last time she made the trip, she unloaded this beautiful head-board.  I just love it. and was inspired to paint it red based on the gorgeous red barns I see on the drive to visit her in Arkansas.  There is nothing more beautiful than an old barn nestled in rolling hills of green backed by the most amazing blue sky you will ever see.  I always look so forward to driving down to visit and checking out all the great antique stores in the area.  Sister takes me to the best places to shop!  I knew this little gem would look fabulous with a coat or two or Barn Red Milk Paint from The Real Milk Paint Co.

bed 2

I applied two coats of this beautiful red paint that is naturally “chippy”.  I did not add any sealer as I wanted the paint to chip in certain areas.  After I let it dry over night, I sanded the edges allowing some of the original yellow color to peek through.  I applied Annie Sloan Dark Wax to finish the piece.

bed 3

bed

I only wish I were hanging with my sister right now.  It pains me to sell this headboard because I just love it so much.  Sure wish it would go in one of my kids rooms.  I can’t wait to get my hands on my next headboard now.  I will be spending the day searching for another great headboard to paint…..unless of course my sister would like to bring me another one?


A friend’s cabinet makeover

Hi there friends!  Recently we ran a little contest on our facebook page https://www.facebook.com/thespoonandthethimble

I asked for furniture submissions to transform for a guest blog I was asked to do.  Well, we selected one, and it is up and posted.  To check out what we did go to http://redposie.com/blog/milk-paint/shabby-cabinet-makeover/

china close 2 close and scratchy

Also “like” us on Facebook for more contest opportunities!

Thanks for reading!