I’m seeing Coastal Blue

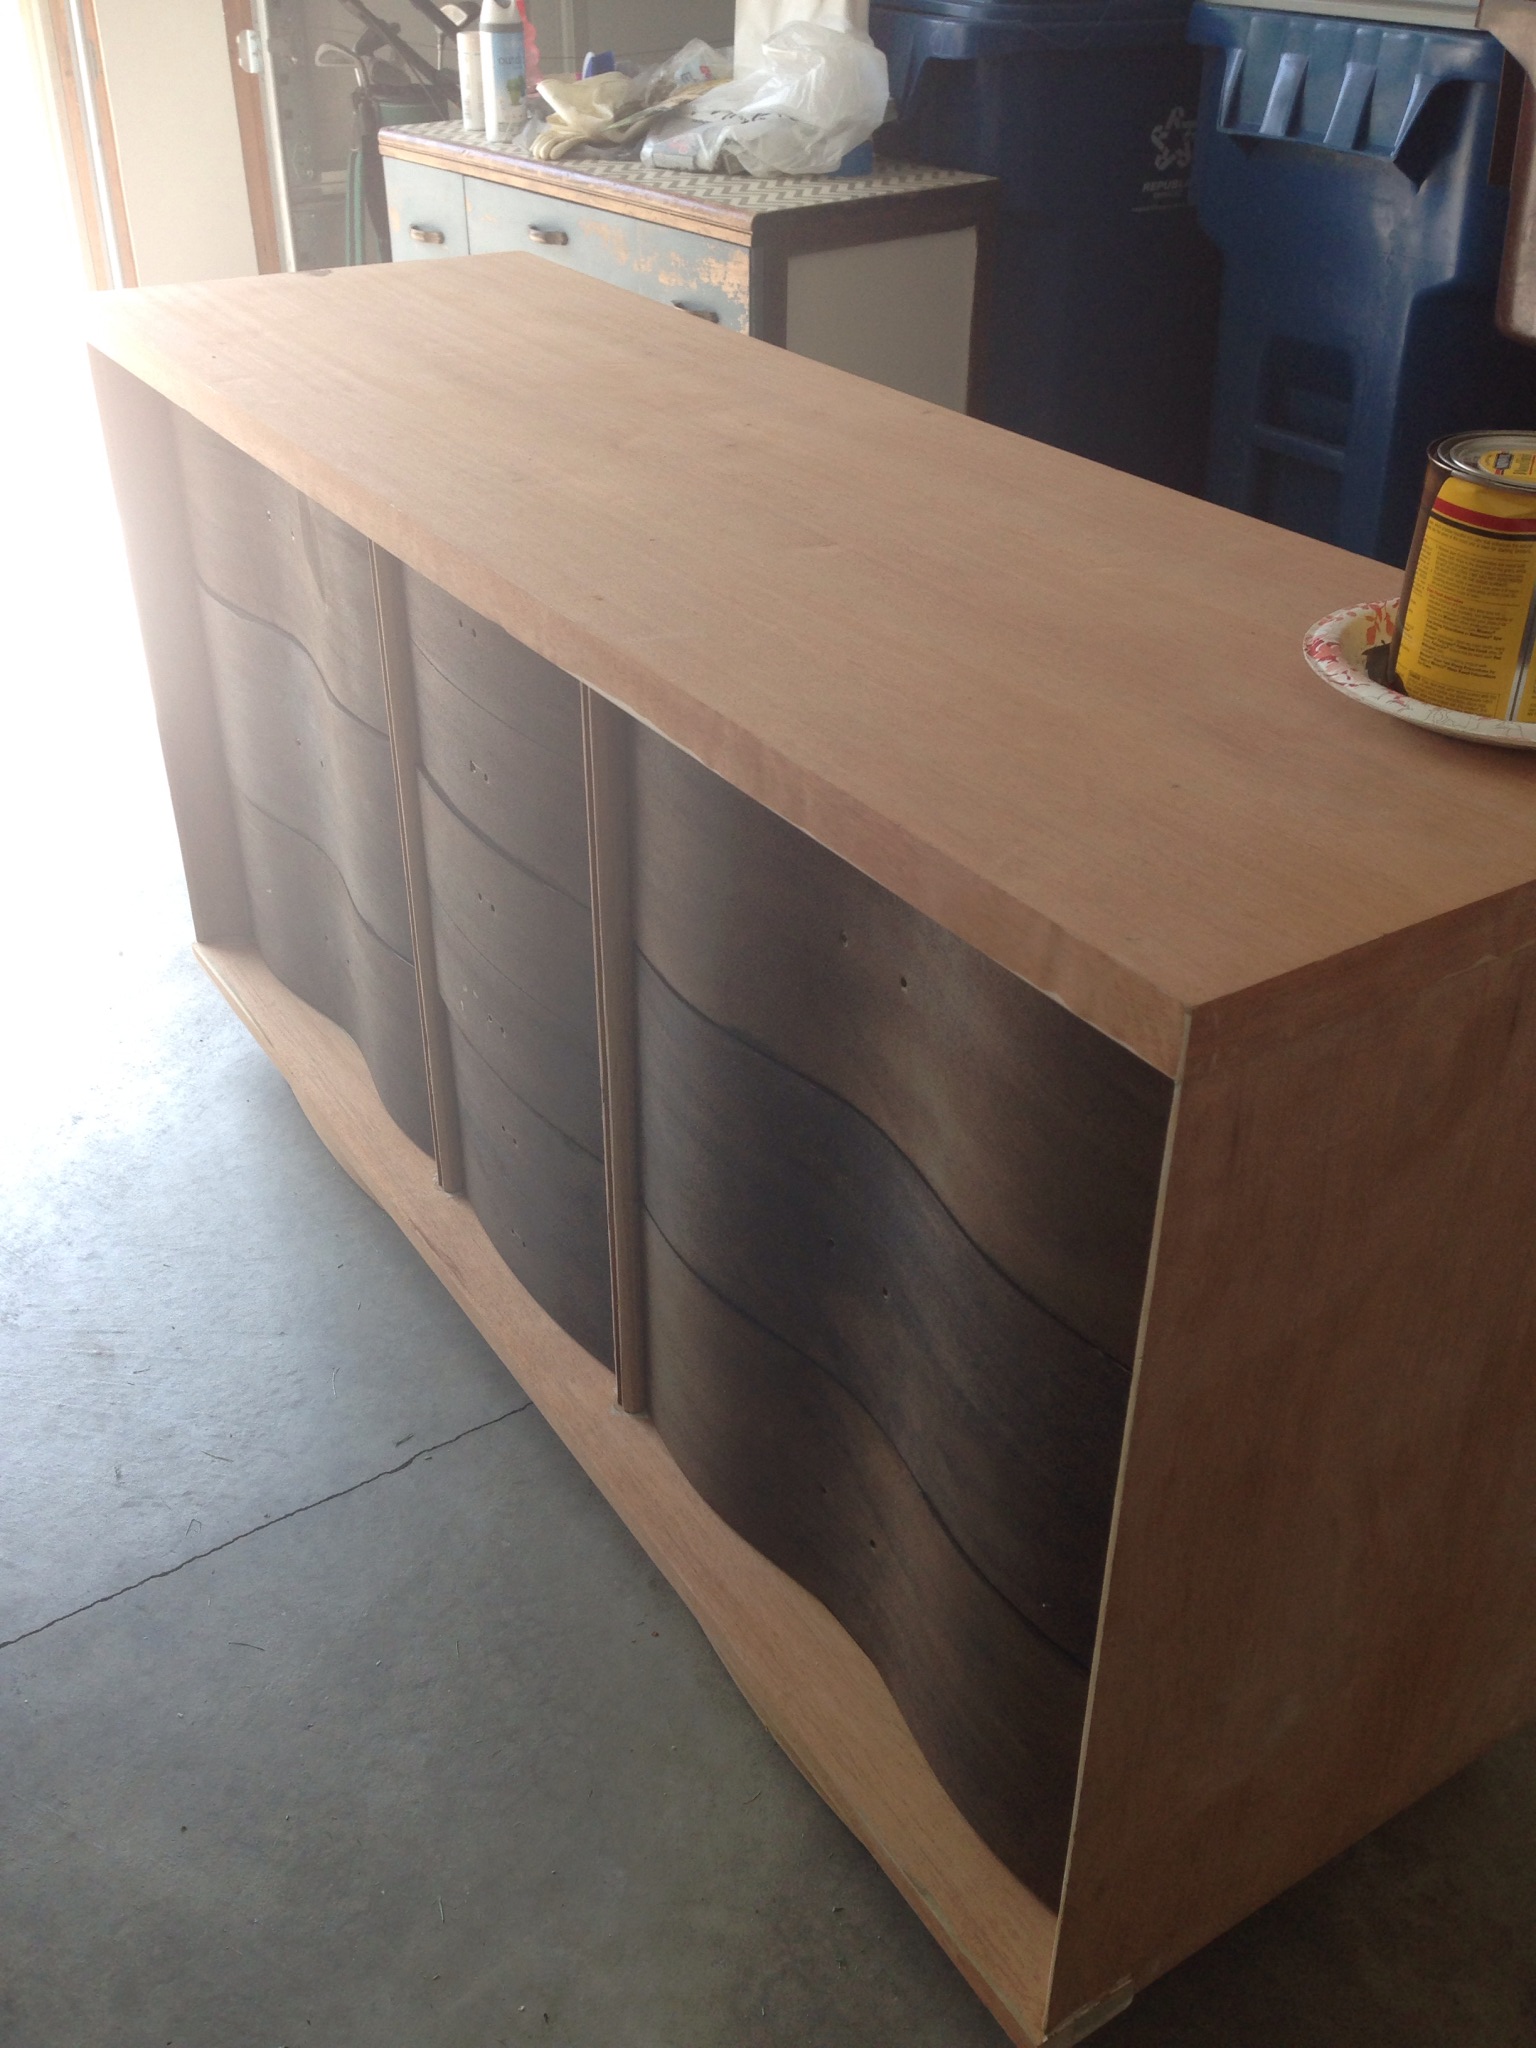
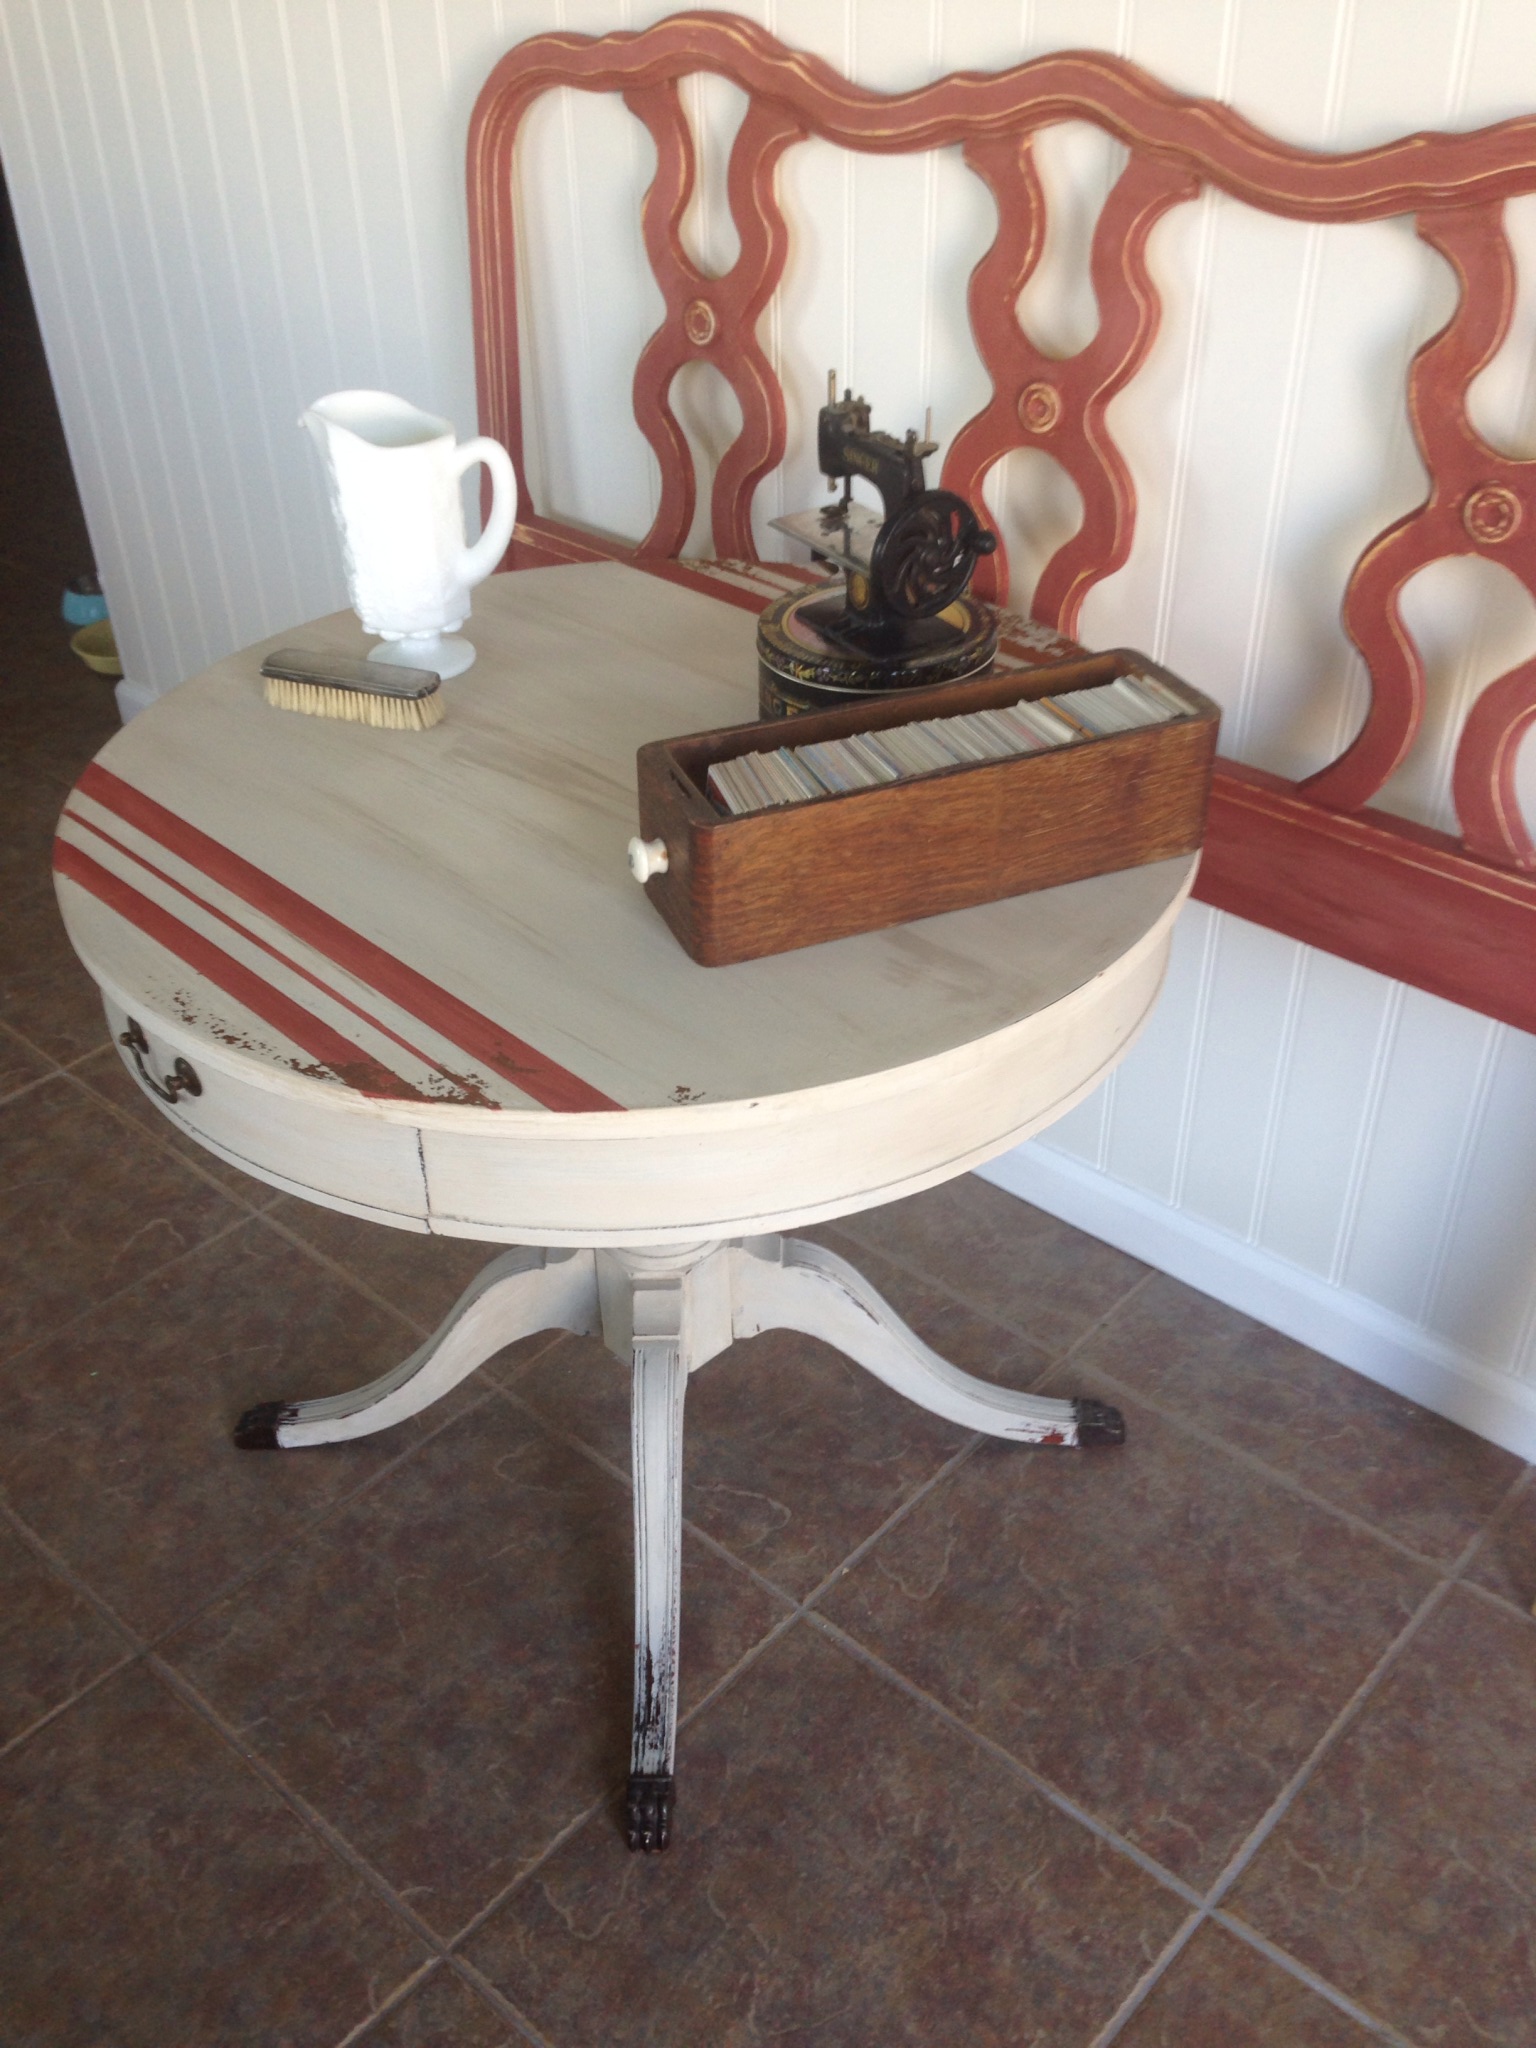
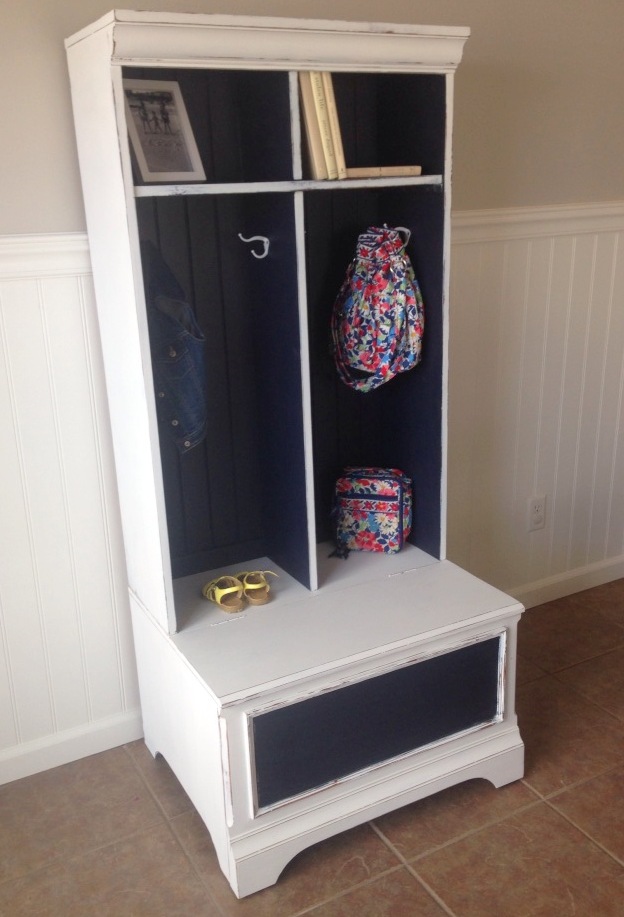
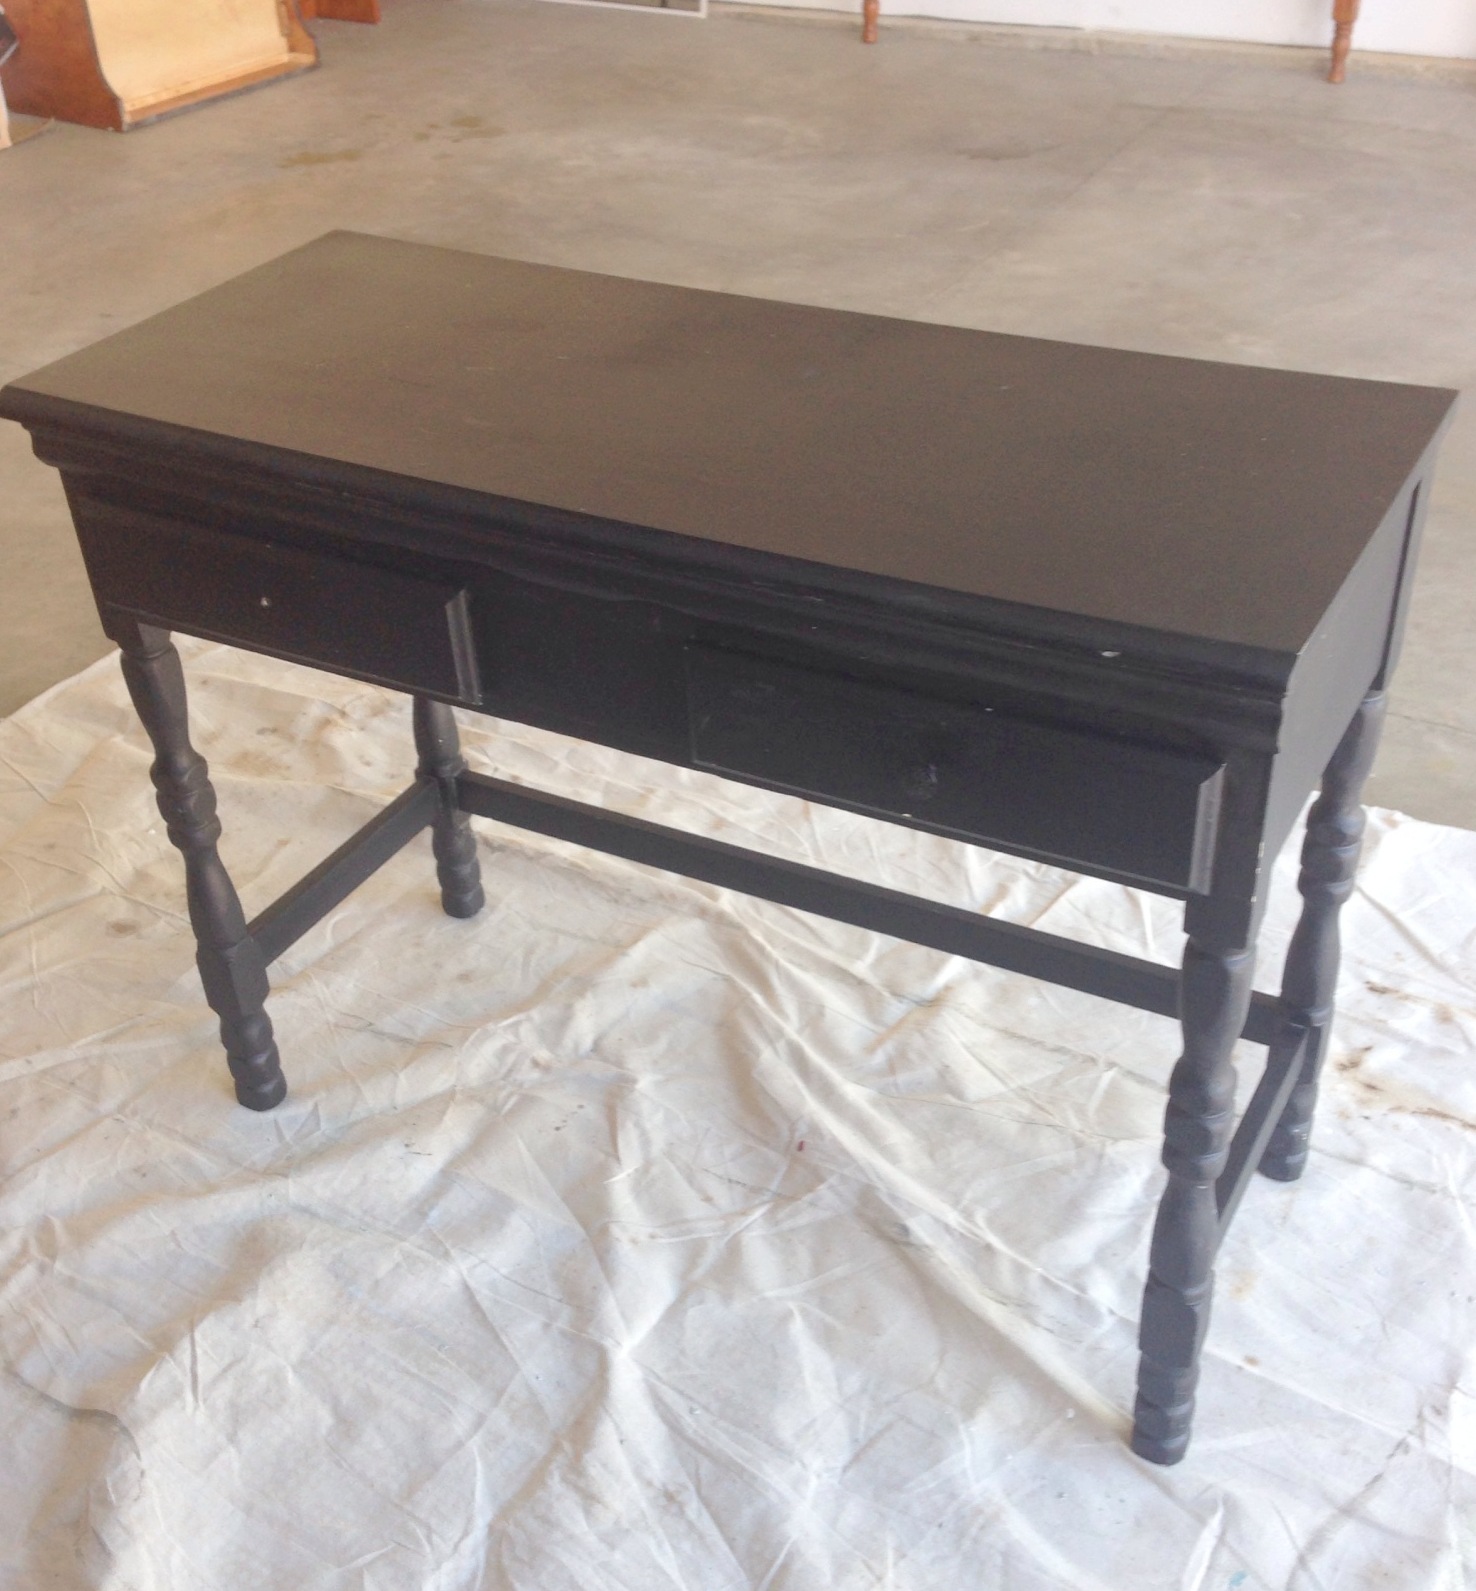
I recently took on a job for a client named Sarah.  She was looking for something to go in her entry way, perhaps a chest or bench.  As most of you know I am a regular on Craigslist, so when I ran across thiss beauty I knew it would be perfect for her space.  I sent Sarah a picture and she loved it as well.

Entry way chest before

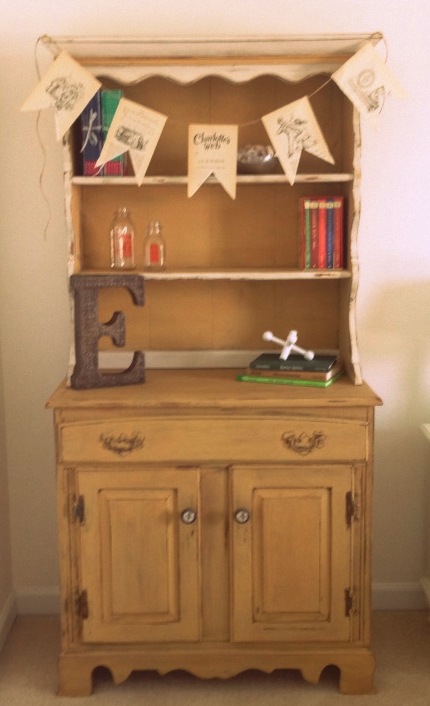
After I bought it, I met with Sarah at her home. She has a vision and I wanted to really capture that for her.  The entrance to her beautiful home is a gorgeous gray color.  We sat and talked about what she was looking to do.  Sarah mentioned that she would love to tie some navy into her color scheme.  I have worked with many blues before but never navy.  I love navy but had just never painted anything  with it.  So I consulted with the best painters I know, and they turned me onto General Finishes Coastal Blue.  Can I just say, “This color is amazing!”  I really wanted a dark, dark navy, and this is it!  As I was leaving Sarah asked me if I could do something with the table she currently had in her entry way.  It is such a cute table, and I knew we could tie it all together by painting both pieces.

Black table before

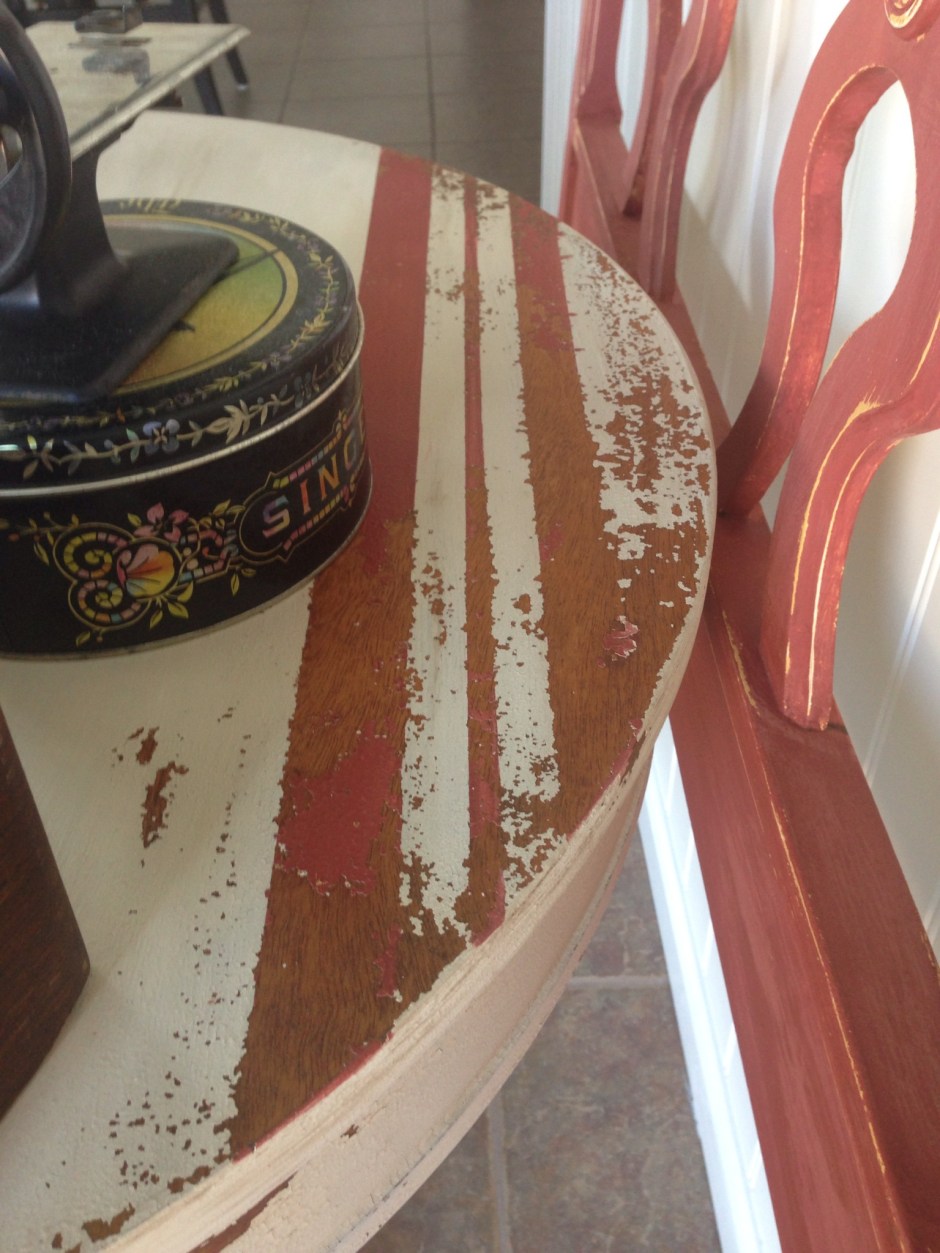
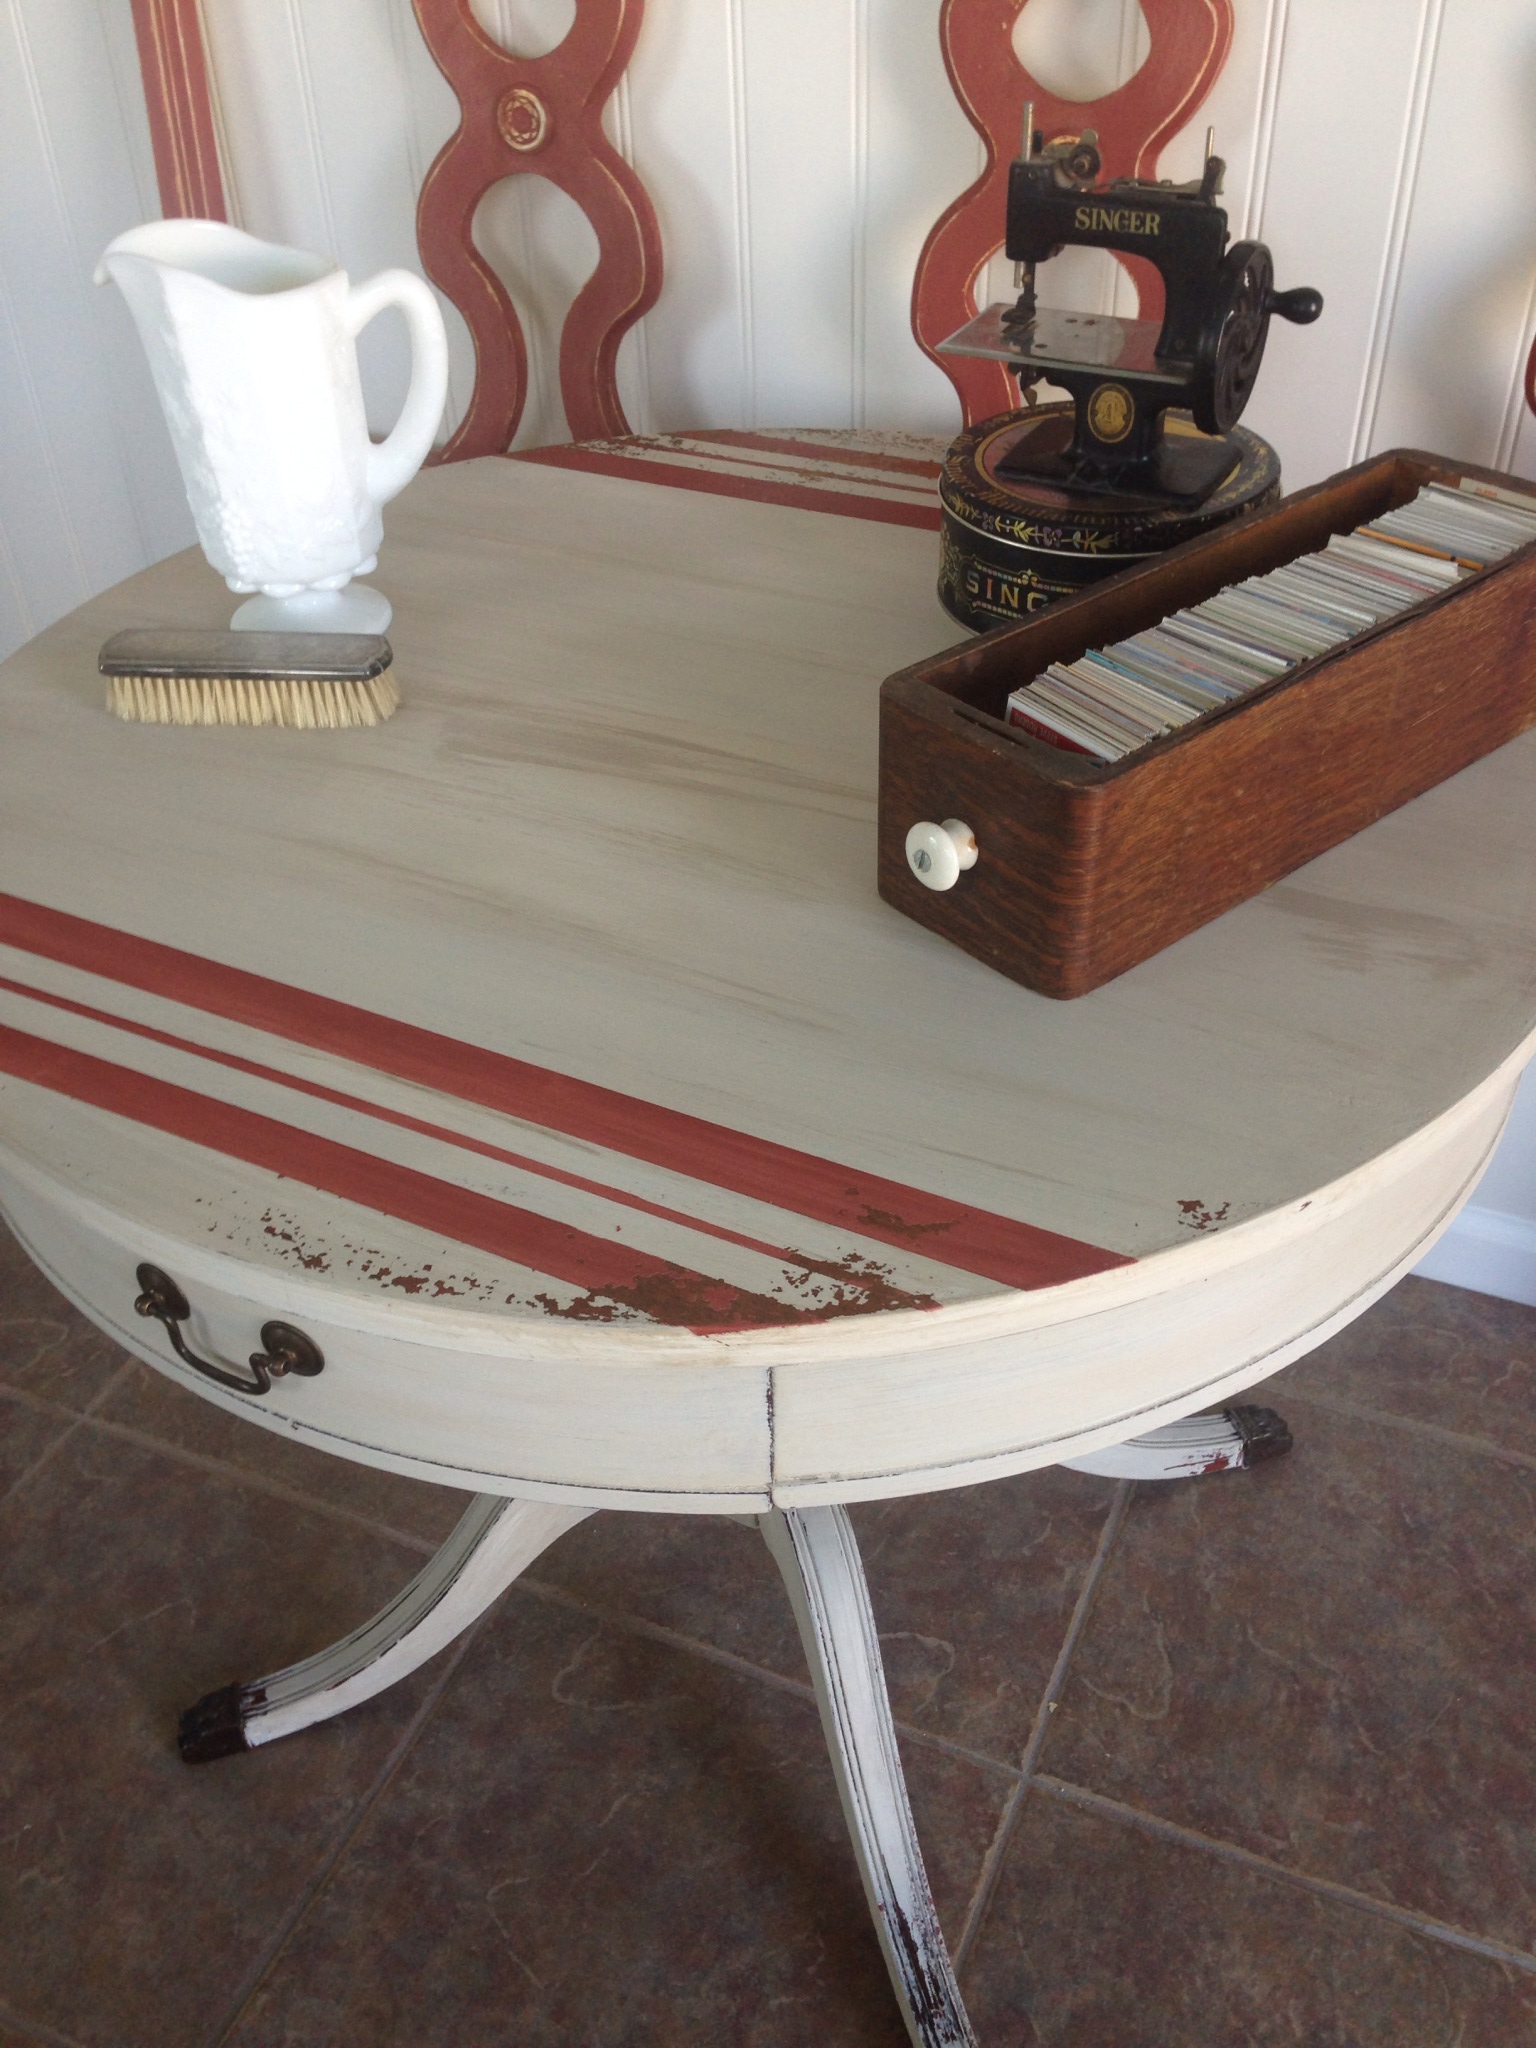
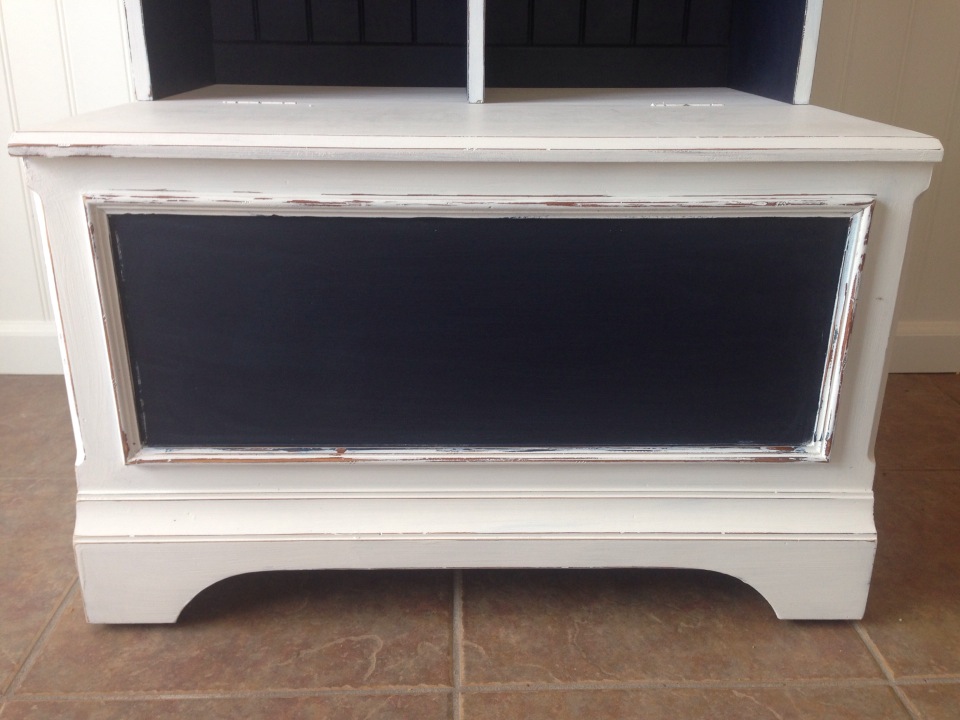
We decided to use a bright white for contrast on both pieces.  Sarah was great, though, and gave me creative license to do whatever I thought would look nice:-)  I wanted to jazz up the table and do a stencil or a stripe.

Navy table 2


Stripe

navy table 3

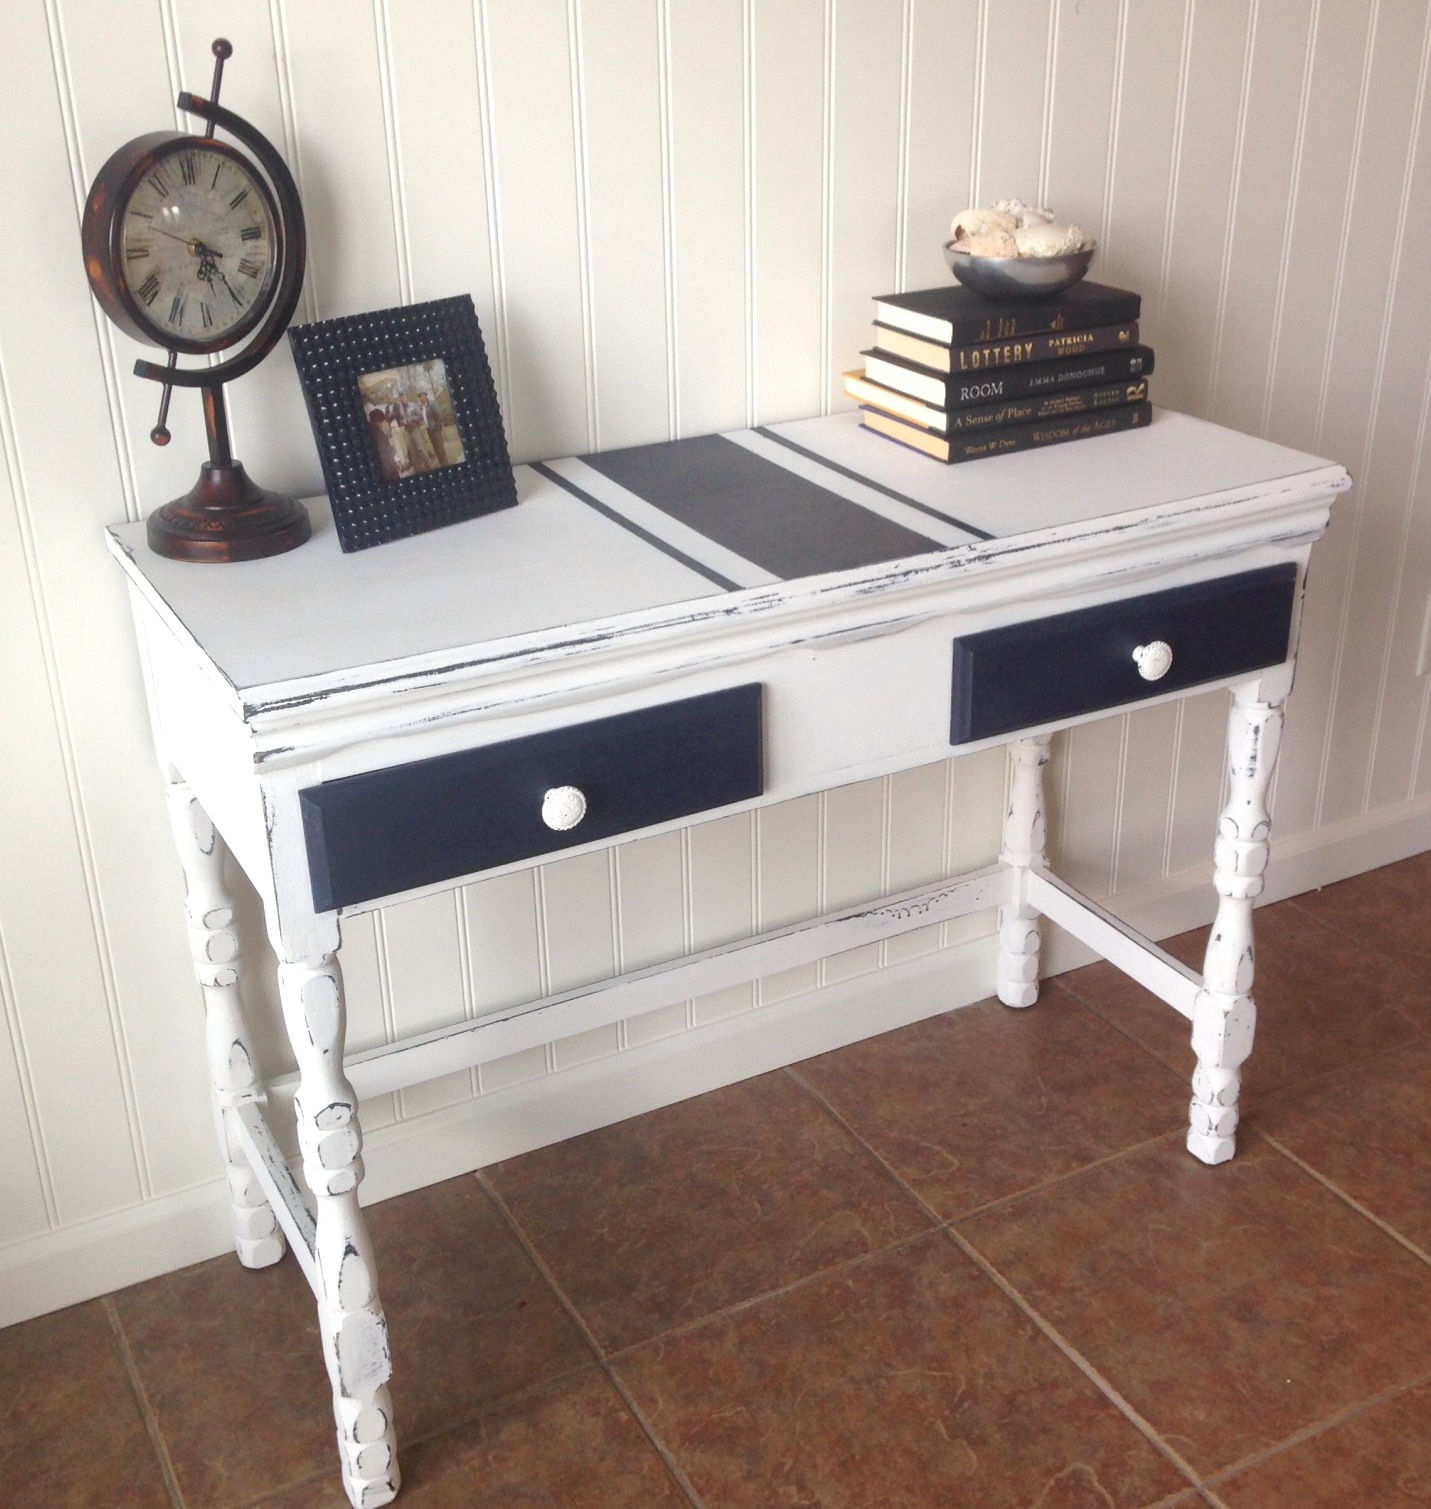
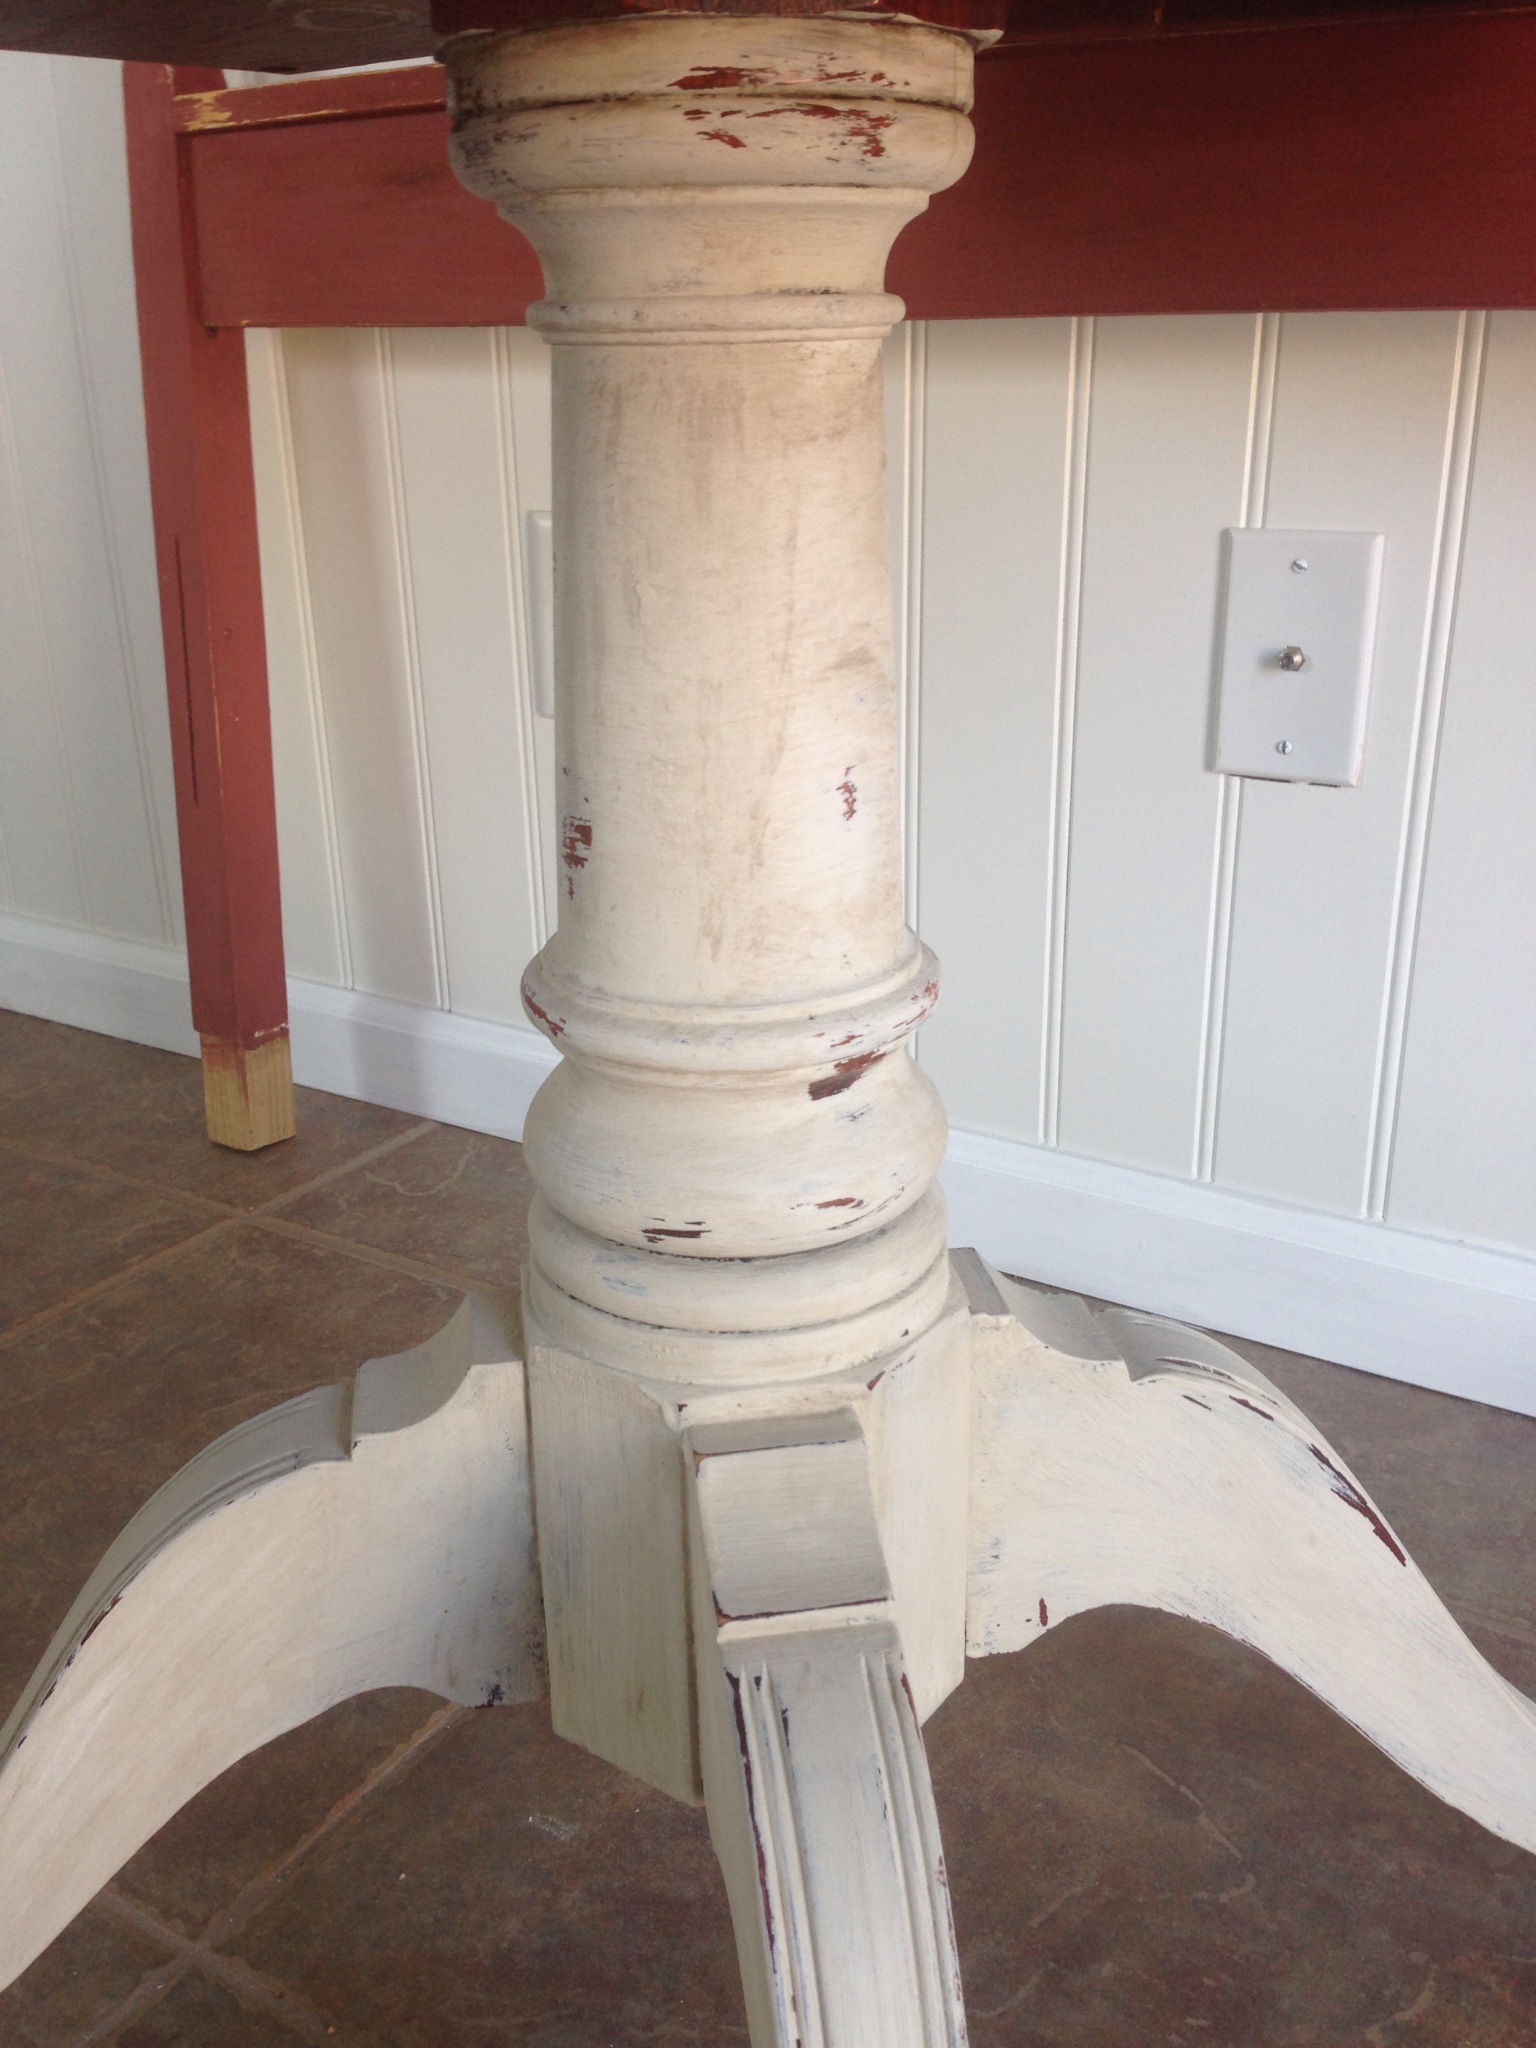
I lightly distressed the white part of both pieces using a fine grit sandpaper.  I waxed both pieces using a clear wax.

chest 6

chest bottom chest 6

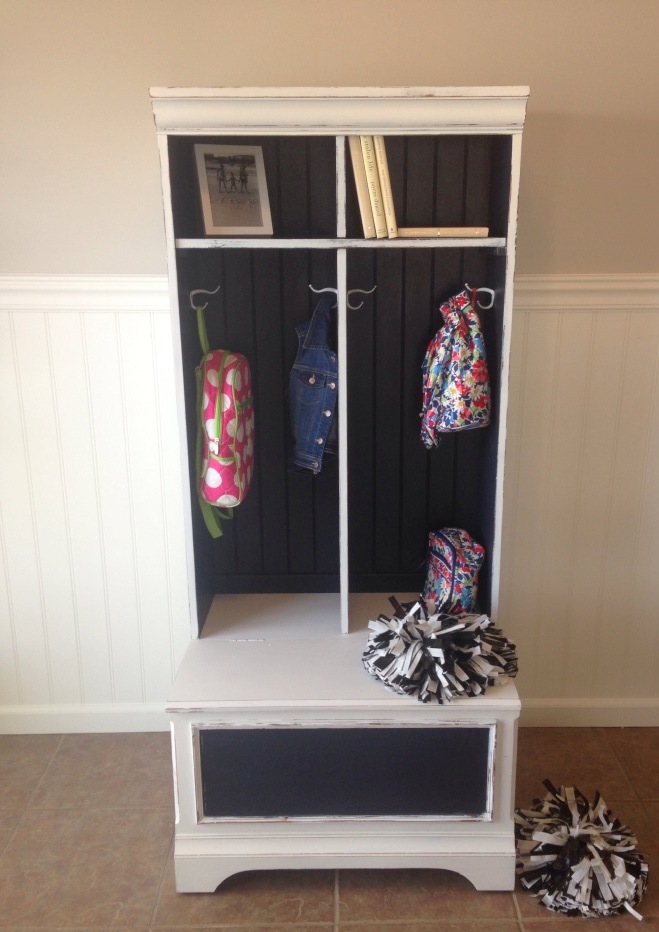
I am thinking these may look too nice in my house to send home?  Just kidding Sarah……enjoy your new entryway furniture!  Thank you for trusting me with these beauties:-)


A little french country

Recently, I decided my daughters each needed their own rooms.  My two oldest had been sharing a room for the last 5 years and it just wasn’t working anymore.  That’s what happens when one is clean and organized and the other can’t help her clothes find the dresser.  I decided I wanted to paint their rooms white.  I was finished with the crazy colors that once graced their walls.  I knew I could add color in other ways and then change it up as their tastes change over the coming years.

My oldest daughter wanted teal and orange and my youngest was requesting blue and yellow.  So we started by painting all the walls white!  I wanted a clean place to start.   I was over the neon colors that had covered their walls.   I was so happy to find this cute dresser on craigslist for my oldest daughter.  I bought it for 20 dollars!  I couldn’t believe it.  The woman had already stripped and sanded this piece.  So I got to work on it right away. Here is a little before and after of this makeover.

10358676_10202548336443521_72672413_o
Dresser before
grace dresser
Dresser after


Cool book clock from Aunt Kim….

Books
Fun clock hidden among the books

Next I had a bookshelf in my basement that had been given to me as well as this antique dresser that I had purchased off of craigslist, well over a year ago.  I decided to do my middle daughters room with a French Country flair.  So I got out my Yellow Rose Milk Paint from The Real Milk Paint Co. and started to paint.  When the piece was covered completely I just thought it needed a little depth so I painted the trim in a white color, giving it some dimension.  I finished the whole thing by distressing a bit and applying a dark wax glaze.  I then added a clear wax for protection (My daughter is HARD on furniture!)  I finished it off by creating a cute book banner out of twine and an old copy of Charlotte’s Web I had (one of our favorites).bookshelf top knob bottomNow the dresser in my basement that I had purchased off of Craigslist about a year ago.  I decided to paint it using the exact same method.  Here are a few pictures of it before and after.

dresser before full dresser dresser close dresser leg dresser mirror

I just love the way both of these turned out.  I feel like I am at a country cottage in France when I walk into her room….well after I pick up the dirty laundry she has strewn about.  🙂


Red Barn Milk Paint Table

I recently acquired this table and sent my sister a picture.

10528378_10202872315062784_2137895024_o

I asked her what color I should paint it and she sent me this picture back as inspiration.

towel

Sister has crazy good taste.  I will have her post some pictures of her house soon:-)  I chose to use Milk Paint from the Real Milk Paint Co.  I love their paint because when used without the bonding agent you get this naturally “chippy” look.  Because these types of towels are antique towels from the 1930’s I knew I wanted the table to have a vintage feel.  I cleaned the table first and then applied a coat of Parchment Milk Paint to the top.  The wood was bleeding through after the first coat so I applied a second coat.

I didn’t really like the table and sent Kim a picture.  She agreed and said the whole table had to be painted.  So, I went ahead and put two coats of Parchment on the rest of the piece.  After the paint had dried I taped the piece off and decided to do red stripes on both sides of the table.  I used The Real Milk Paint Co.’s Red Barn.  I applied two coats of the red as well.  Once the paint had dried I carefully pulled the tape off.  The paint began to chip upon drying and I love how it nearly took the stripe off on one side.  It’s like this paint has a mind of its own and knows what will look best.  I LOVE smart paint!  Once all the paint had dried I applied a dark wax glaze to the whole piece giving it an even older feel.  Finally I applied a clear wax protective coat to the whole table.  I just love the way it turned out.

10552214_10202883623545489_402714059_o 10552116_10202883623665492_1369465220_o 10543423_10202883624785520_208118677_o 10528398_10202883624305508_40688098_o 10526844_10202883625785545_686507126_o 10523149_10202883624025501_2094438053_o

It is pretty and looks so sweet I don’t want to sell it but my house is turning into a furniture store.  If you know anyone in search of an adorable end table, let me know!


From “crap” closet to “craft” closet

I apologize for my lack of posts. I would love to say I have been so busy crafting that I just didn’t have time to post but that is not really the truth. I have found a new hobby that I can’t seem to get enough of…..napping! I just adore it. Anyway, yesterday I decided to forgo my daily nap and clean a closet or drawer out instead. My house was clean and so I decided to tackle something that usually gets neglected. My poor linen closet came to mind. I started thinking that I don’t ever go in that closet except to throw the random crap in 5 minutes before company arrives. I thought I would take a look and refold some things and make some nice stacks. When I opened the closet and looked inside I started to realize just how long it had been since I had given this little closet any attention. what a mess messy I started to pull random things out. Beach towels, old (expired) medicine, half burnt candles (from my first house), used plug ins, bedding to bed sets I don’t even remember. I began by pulling everything out of the closet and started 3 piles. Keep, trash and Goodwill. wallflowers expired meds The majority of the crap went to Goodwill or trash. I kept only the beach towels but moved them to a Rubbermaid bin in the basement. Now staring at an empty closet I had to decide what I would fill it with. I walked around the house and realized one recurring theme I had in almost every room where signs of my kids “crafting”. I had buckets of crayons in almost every room. My laundry room has been a catch all for Play-doh, coloring books, markers, old pencil cases and glue sticks. I had 3 drawers in my kitchen full or markers, stickers, crayons, thread, glue, clothes pins, ribbon and other random artistic supplies. So I had my idea. I would consolidate our crap…er I mean crafts. Now normally my sister Kim would direct this project and I would just do as I was told but since she is 5 hours away, I was on my own. I remembered a few things she told me. 1. Buy all matching Rubbermaid and buy twice as much as you think you will need. 2. Buy clear containers! You need to be able to see what you have at a glance. 3. Label everything. It won’t get used it you don’t know it’s there 4. Keep 1 or two items. You don’t need 12 of anything. (Except scissors! They looked too cute to get rid of any of them) 5. Make it visually appealing but more importantly functional. I took a trip to Target. I bought a lot of bins, more than I needed! I stuck with a color theme….yellow, black and white. close up storage I bought chalk labels to label the bins. This way I can change them as the bins change contents. labels I placed empty bins on the top shelf so I would know exactly where they were when the time came to fill them and so they wouldn’t accidentally get used for something else. extra storage Now I don’t know about you but we always have a lot of unopened crafts from birthday parties etc. that I save for a rainy day. I placed these on the top shelf as well. I wanted to kids to be able to see what we have but not be able to grab it all!!!! 🙂 games I tried to display the craft supplies so they would be easy to see what we had and easy to access as well. markers and sissors All of this took about 1 1/2 hours to complete. The kids love it and it keeps the crafts organized and in one place. As crayons get broken and markers run out I throw them immediately in the trash. So there you have it from “Crap to Craft”! fun crafty Before/After closet compare

Fall is the time for soup

Fall is the time for soup! I just love this time of year. It’s perfect for cooking soup. About a year ago my sister gave me a great idea. I was constantly throwing old packages of shriveled grape tomatoes away. She said that she had a friend who found a way to save those crinkled up little suckers. Set your oven to 500 degrees. On a foil lined baking sheet, pour out your tomatoes and drizzle with olive oil. Add salt and pepper. You can add some chopped garlic and dried basil or oregano as well. Put them in the oven before you go to bed. BE SURE AND TURN THE OVEN OFF. Let them sit in the oven over night. In the morning you will have perfect roasted tomatoes. I use these revived beauties on everything from pasta to soup. I love a recycled vegetable or fruit! So yesterday I decided to invent a soup! I like to call it Roasted Tomato and Black Bean soup. Here is what you will need: 1 (15 oz) can of tomato sauce ½ yellow onion chopped 1 pound of lean ground beef 1 bottle of beer (non alcoholic is fine too) 1 package of ranch seasoning 2 cups of oven roasted tomatoes 1 can of black beans (rinsed and drained) Brown the ground beef and chopped onion in a skillet. Drain any excess fat from the beef and add to crockpot. Add all remaining ingredients and mix well. Turn crockpot on low. Cover. Let cook for 6 hours. If it needs more liquid, you could always add some beef broth. I served mine over a bed of fresh spinach leaves with fresh Parmesan cheese shavings. You could serve over rice or pasta as well. Tastes just fine by itself too! Add some crusty French bread and enjoy. Yes! Kids like it too. My 8-year-old looked up as she was shoveling it in last night and said, “Mom save this for me to eat tomorrow night for dinner too. Don’t eat it for lunch. Okay?” soup

A forgotten household task . . .

Ironing.

I don’t keep a “to be ironed pile” like my mother did. In fact, I rarely iron anymore. I grab things out of the dryer or sometimes even the washer and hang them up in hopes of avoiding wrinkles. Then I pull out the ironing board to touch things up right before I wear them. And on busy mornings you go for something that doesn’t need ironing, right?

Since starting my burlap obsession, I’ve had the ironing board up and given it a workout. Finally perfected the pennant technique to include ironing Wonder Under between two pieces for sturdiness and to avoid fraying edges. Then I iron the top down into a half-inch fold, giving a nicer place to glue the twine than across the front of the pennant.

All of this “fun with burlap” has left my ironing board and my iron a mess. My Dear One, who actually likes ironing, is the one who purchased both of these. He’s pretty meticulous about his clothes and loves that Rowenta Professional iron (even bought his mother one!).

Thought I’d press a few things for my girls and myself this rainy Saturday morning but have to Google “how to clean an iron” first. And then consider going to Target for a second ironing board cover; maybe I can switch them out for clothes vs. burlap?